Authenticating Azure AKS Kubernetes Clusters with GitHub SSO
In this tutorial, we’ll look at how to authenticate Microsoft Azure Kubernetes Service (AKS) Kubernetes clusters with GitHub single sign-on (SSO).
Article Contents
- Overview
- Step 1 - Provisioning an Azure Kubernetes Service cluster
- Step 2 - Registering an AKS Kubernetes cluster with Teleport
- Step 3 - Configuring Teleport RBAC to allow access to AKS Kubernetes cluster
- Step 4 - Configuring GitHub as SSO provider for AKS Kubernetes cluster
- Step 5 - Accessing AKS Kubernetes clusters through GitHub SSO Identity Provider
- Conclusion
Overview
In this tutorial, we’ll look at how to authenticate Microsoft Azure Kubernetes Service (AKS) Kubernetes clusters with GitHub single sign-on (SSO). AKS is Azure’s managed Kubernetes service that makes it easy and efficient for you to run Kubernetes on Azure or on-premises. The convenience of having Azure manage the availability, performance and scalability of nodes in addition to direct integration with Azure IAM, networking, security and developer tools has made Azure’s AKS the preferred way of running Kubernetes for many organizations.
In addition, these organizations are adopting SSO solutions to centralize identity management for better security, experience and efficiency. This post will provide instructions on how to utilize GitHub SSO to secure access to AKS Kubernetes clusters. Sitting in between these two services will be Teleport, an open-source, identity-native infrastructure access platform that allows engineers and machines to securely connect to any infrastructure resource in the world, including AKS clusters. Teleport also provides us with, amongst other types of auth connectors like SAML and OIDC, a GitHub SSO connector so that we can bridge these two services together.
Key takeaways:
You’ll learn how to:
- Quickly provision an AKS cluster
- Enroll and protect access to AKS with Teleport
- Configure RBAC for Kubernetes
- Configure GitHub SSO and map users and groups
- Audit access to the Kubernetes API including kubectl exec session recordings
Prerequisites: This article assumes that you are familiar with, and have deployed, a Teleport cluster and can log into it.
Step 1 - Provisioning an Azure Kubernetes Service cluster
First, you need to launch an AKS cluster. Here, we’ll launch two Ubuntu nodes. You may need to replace the parameters such as the Azure region and number of nodes. Download and configure the Microsoft Azure CLI to follow along.
touch aks-config
export KUBECONFIG=$PWD/aks-config

export AZ_REGION=westus

az group create \
	--name teleport-demo \
	--location $AZ_REGION

az aks create \
    --resource-group teleport-demo \
    --name cluster1 \
    --node-count 2 \
    --generate-ssh-keys
When the provisioning is complete, the kubeconfig contents are written to the aks-config file in the current directory.
az aks get-credentials \
	--resource-group teleport-demo \
	--name cluster1
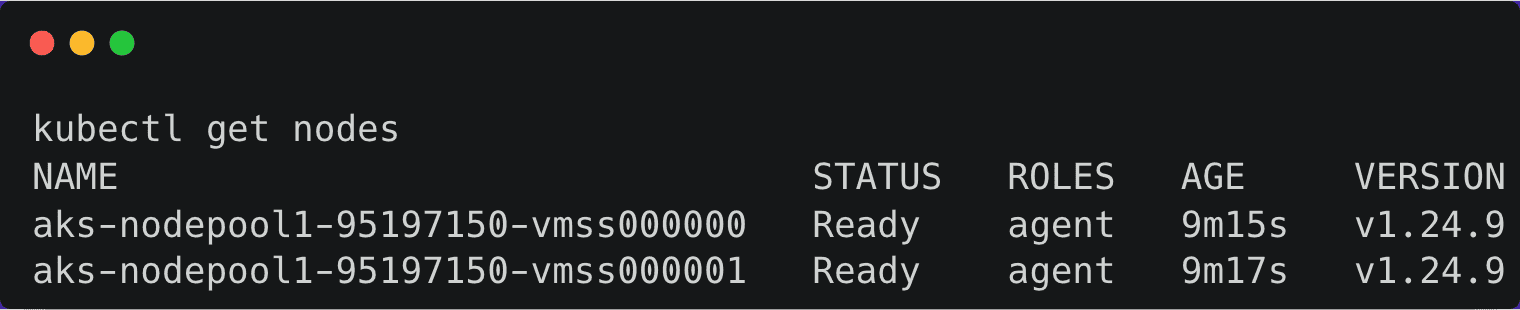
You can list the nodes and verify the access to the cluster.
Step 2 - Registering an AKS Kubernetes cluster with Teleport
Next, we can easily and securely manage our AKS Kubernetes cluster access with Teleport, which also conveniently provides us with a GitHub SSO connector which we’ll look at in the next section.
Similar to other configurations, such as servers, Teleport expects an agent to run within the target cluster. The teleport-kube-agent can be installed through a Helm chart by pointing it to the Teleport proxy server endpoint.

Before proceeding further, we’ll need to get the token responsible for validating the agent.
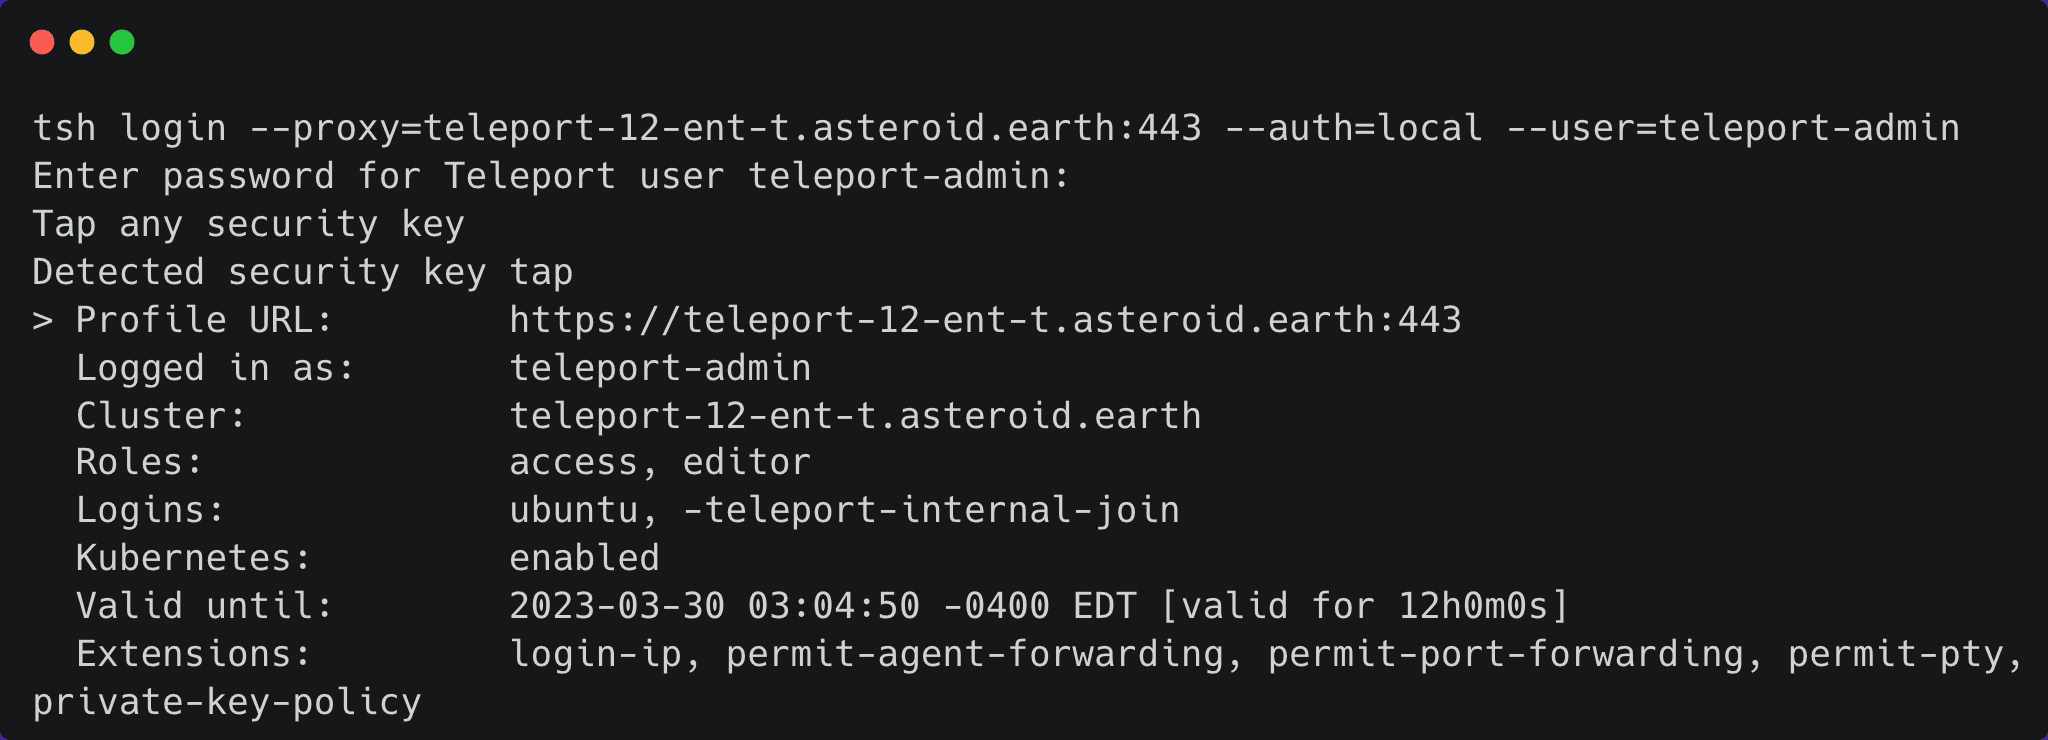
First, make sure you log into Teleport as a user with roles editor and access.
Next, use the tctl command to create a token based on the Kubernetes role and save to a TOKEN variable.
TOKEN=$(tctl nodes add --roles=kube --ttl=1h --format=json | jq -r '.[0]')The next step is to add Teleport’s repo and update Helm, which provides us access to the Helm chart.
helm repo add teleport https://charts.releases.teleport.dev
helm repo update
Finally, set the variables as seen below and run the helm install command with the specified parameters to deploy the teleport-kube-agent to your AKS cluster.
PROXY_ADDR=teleport-12-ent-t.asteroid.earth:443
CLUSTER=aks-cluster

helm install teleport-agent teleport/teleport-kube-agent \
  --set kubeClusterName=${CLUSTER?} \
  --set proxyAddr=${PROXY_ADDR?} \
  --set authToken=${TOKEN?} \
  --create-namespace \
  --namespace=teleport \
  --version 12.1.1
Wait for a few minutes, and check if the agent pod is up and running within the teleport namespace.
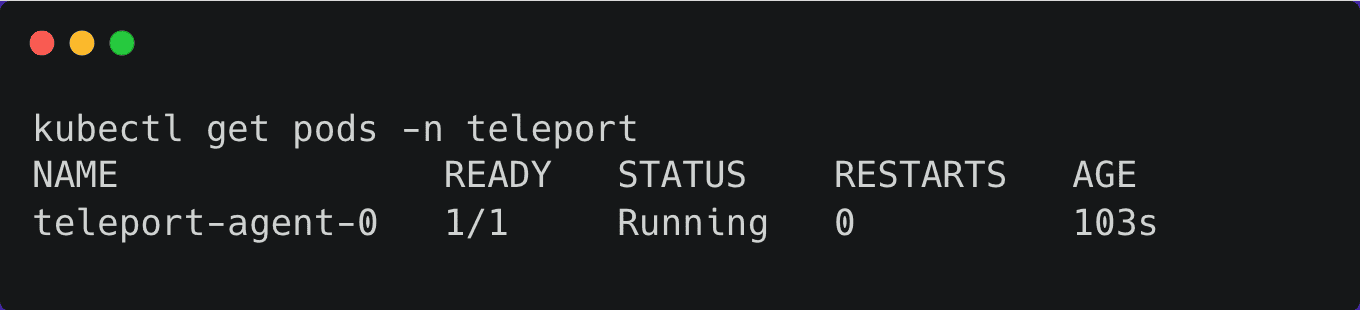
You can also verify the logs with the below command:
kubectl logs teleport-agent-0 -n teleportStep 3 - Configuring Teleport RBAC to allow access to AKS Kubernetes cluster
The cluster is now registered, but not accessible. For our user (or any user) to access the cluster, we’ll need to configure Teleport’s RBAC.
Kubernetes uses an identity embedded within the kubeconfig file to access the cluster. Let’s create a new Teleport role adding that identity to the kubernetes_users section for the user to assume the role.
First, let’s get the current user from the kubeconfig file for the AKS cluster we created above.
kubectl config view -o jsonpath="{.contexts[?(@.name==\"$(kubectl config current-context)\")].context.user}"By default, AKS creates a user based on the format clusterUser_RESOURCE_GROUP_CLUSTENAME. Let’s tell Teleport that this user will assume the role by creating an RBAC definition in a file by name of kube-access.yaml and applying it to create the new Teleport role named ‘kube-access’ with the user listed under kubernetes_user.
kind: role
metadata:
  name: kube-access
version: v5
spec:
  allow:
    kubernetes_labels:
      '*': '*'
    kubernetes_groups:
    - viewers
    kubernetes_users:
    - clusterUser_teleport-demo_cluster1
  deny: {}
Apply your changes to create the role:
tctl create -f kube-access.yamlNow assign the kube-access role to your Teleport user by first retrieving your local user’s configuration and outputting to a file:
tctl get users/$(tsh status -f json | jq -r '.active.username') > user.yamlThen editing this file, user.yaml, adding kube-access to the list of existing roles:
  roles:
   - access
   - auditor
   - editor
+  - kube-access
Now apply your changes:
tctl create -f user.yamlLog out of your Teleport cluster and log in again to assume the new role.
Now that Teleport RBAC is configured, you can authenticate to your Kubernetes cluster via Teleport. But to interact with your Kubernetes cluster, you will also need to configure authorization within Kubernetes.
To configure authorization within your Kubernetes cluster, you need to create Kubernetes RoleBindings or ClusterRoleBindings that grant permissions to the subjects listed in kubernetes_users and kubernetes_groups in the Teleport role.
For example, you can grant some limited read-only permissions to the viewers group used in the kube-access role defined above:
Create a file called viewers-bind.yaml with the following contents:
apiVersion: rbac.authorization.k8s.io/v1
kind: ClusterRoleBinding
metadata:
  name: viewers-crb
subjects:
- kind: Group
  # Bind the group "viewers", corresponding to the kubernetes_groups we assigned our "kube-access" role above
  name: viewers
  apiGroup: rbac.authorization.k8s.io
roleRef:
  kind: ClusterRole
  # "view" is a default ClusterRole that grants read-only access to resources
  # See: https://kubernetes.io/docs/reference/access-authn-authz/rbac/#user-facing-roles
  name: view
  apiGroup: rbac.authorization.k8s.io
Apply the ClusterRoleBinding with kubectl:
kubectl apply -f viewers-bind.yamlLog out of Teleport and log in again.
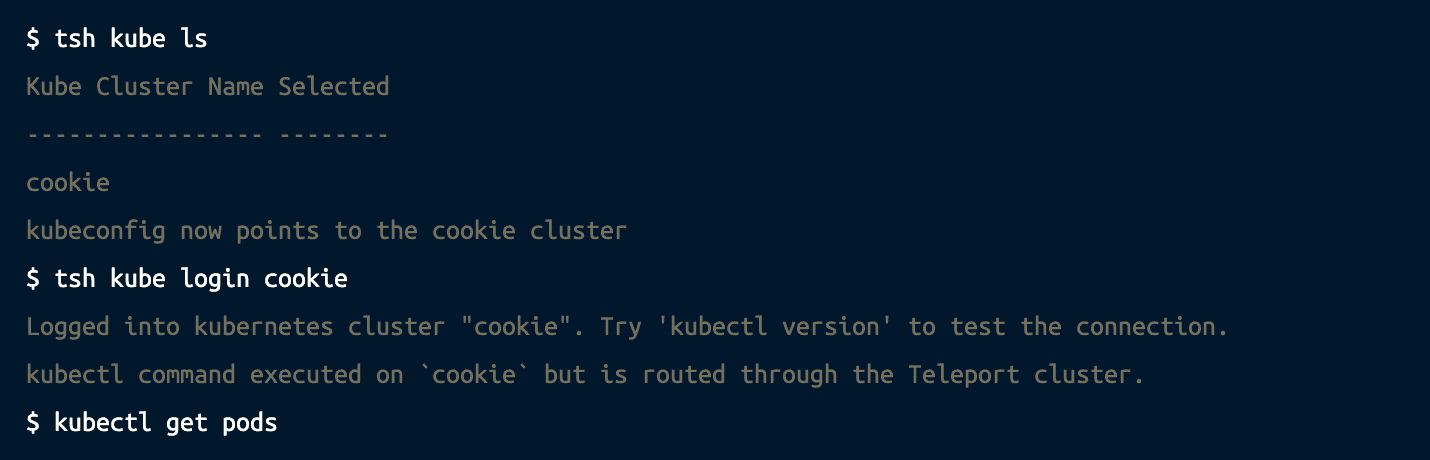
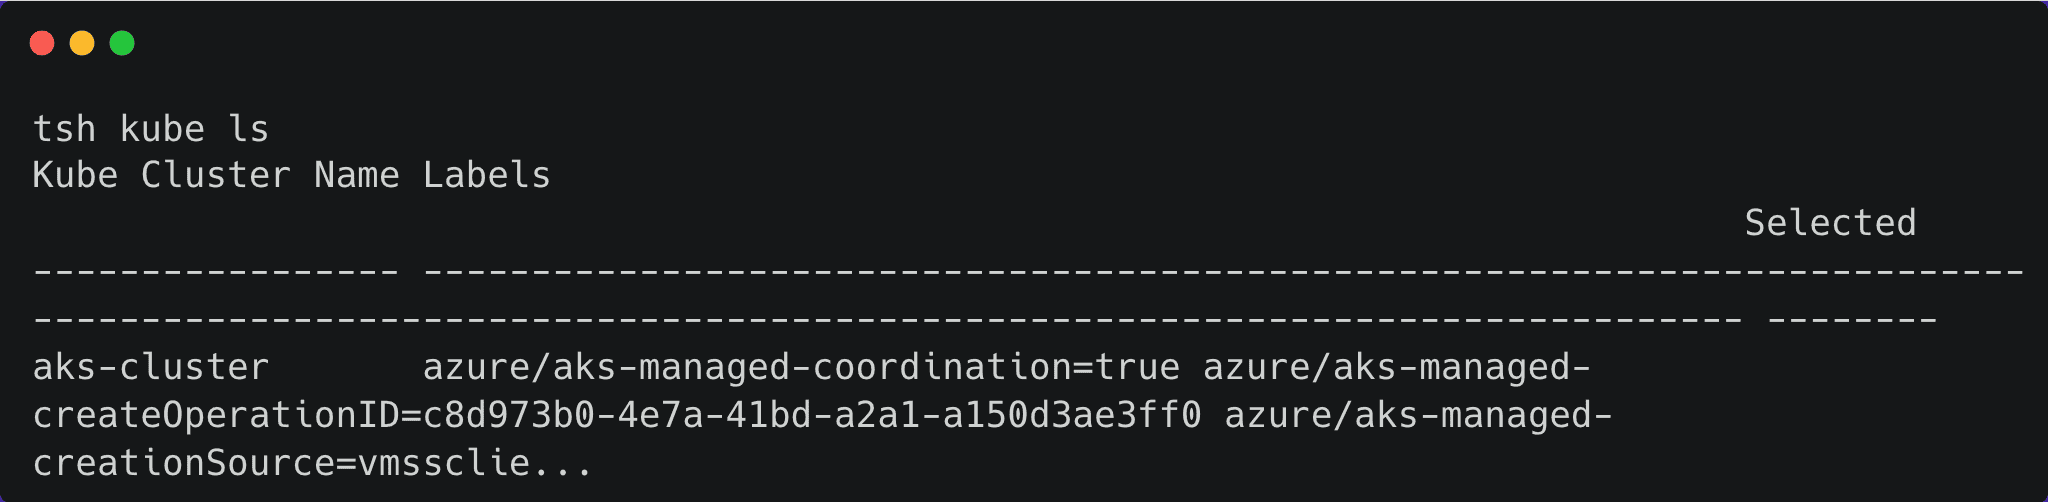
List connected clusters using tsh kube ls and switch between them using tsh kube login:
Step 4 - Configuring GitHub as SSO provider for AKS Kubernetes cluster
Now that we have access to our AKS Kubernetes cluster via kubectl, let’s create a GitHub Single Sign-On (SSO) connection within Teleport so you can automatically map teams in your GitHub organization to users and roles in Teleport.
As a prerequisite you’ll need a GitHub organization with at least one team. This organization must not have external SSO set up, or Teleport will refuse to create the GitHub authentication connector. Follow the two steps below:
1. Create a GitHub OAuth app:
Within GitHub, create an OAuth app. Here are the instructions for creating an OAuth App.
When you do so, ensure that your OAuth App's "Authentication callback URL" is the following:
https://PROXY_ADDRESS/v1/webapi/github/PROXY_ADDRESS must be the public address of the Teleport Proxy Service.
2. Create a GitHub authentication connector
Define a GitHub authentication connector by creating a file called github.yaml with the following content:
kind: github
version: v3
metadata:
  # Connector name that will be used with `tsh --auth=github login`
  name: github
spec:
  # Client ID of your GitHub OAuth App
  client_id: <client-id>
  # Client secret of your GitHub OAuth App
  client_secret: <client-secret>
  # Connector display name that will be shown on the Web UI login screen
  display: GitHub
   # URL of your GitHub Enterprise Server instance (if applicable)
  # endpoint_url: https://<github-enterprise-server-address>
  # Callback URL that will be called after successful authentication
  redirect_url: https://<proxy-address>/v1/webapi/github/callback
  # Mapping of org/team memberships onto allowed roles
  teams_to_roles:
    - organization: octocats # GitHub organization name
      team: admins # GitHub team name within that organization
      # Maps octocats/admins to the "access" Teleport role
      roles:
        - access
The values of client_id, client_secret, and redirect_url come from the GitHub OAuth App you created earlier.
Teleport will request only the read:org OAuth scope. Read more about OAuth scopes in GitHub's documentation.
Finally, once you’ve filled in the appropriate values, create the connector using tctl:
tctl create github.yamlStep 5 - Accessing AKS Kubernetes clusters through GitHub SSO Identity Provider
Now let’s test the entire flow by signing into Teleport as a GitHub user and then using the tsh CLI to list the registered Kubernetes clusters.
First, let’s log into Teleport with GitHub as the authentication.
tsh --proxy=teleport-12-ent-t.asteroid.earth:443 login --auth=githubThis opens up a browser window for entering your credentials. Once entered, you should get a prompt to authorize the access:
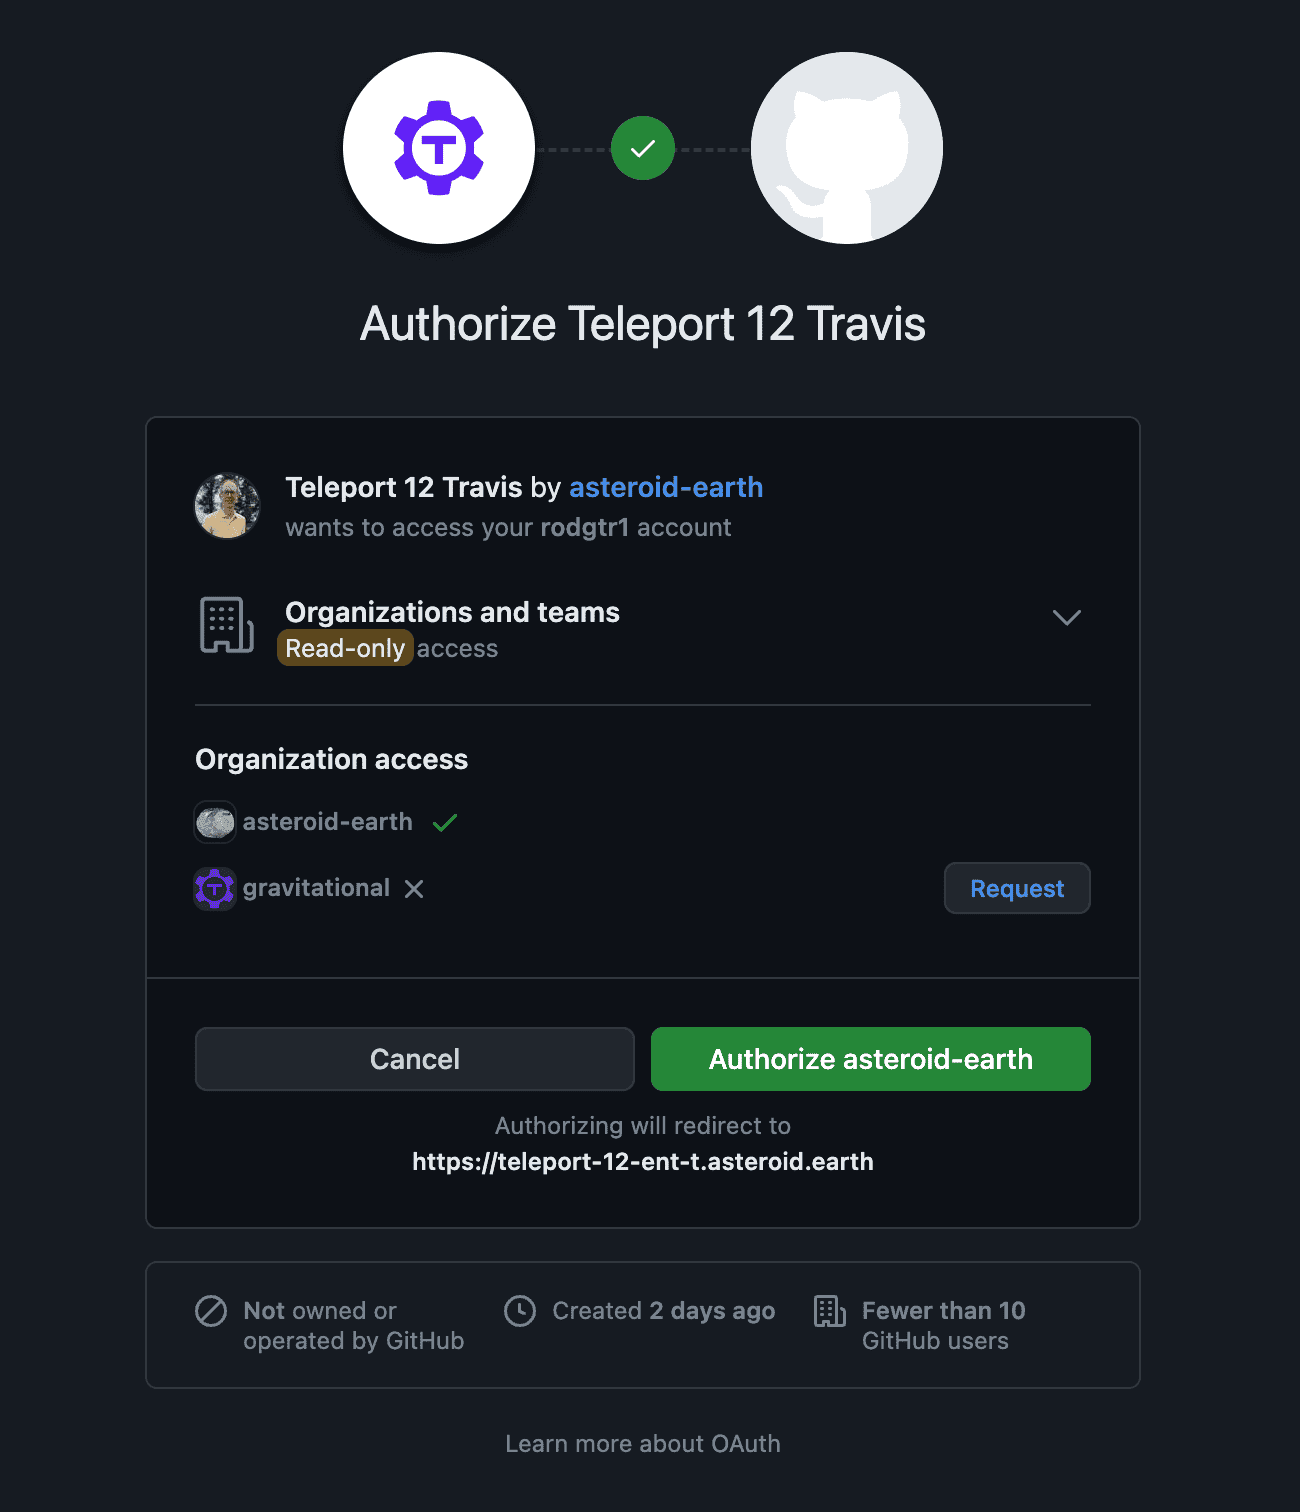
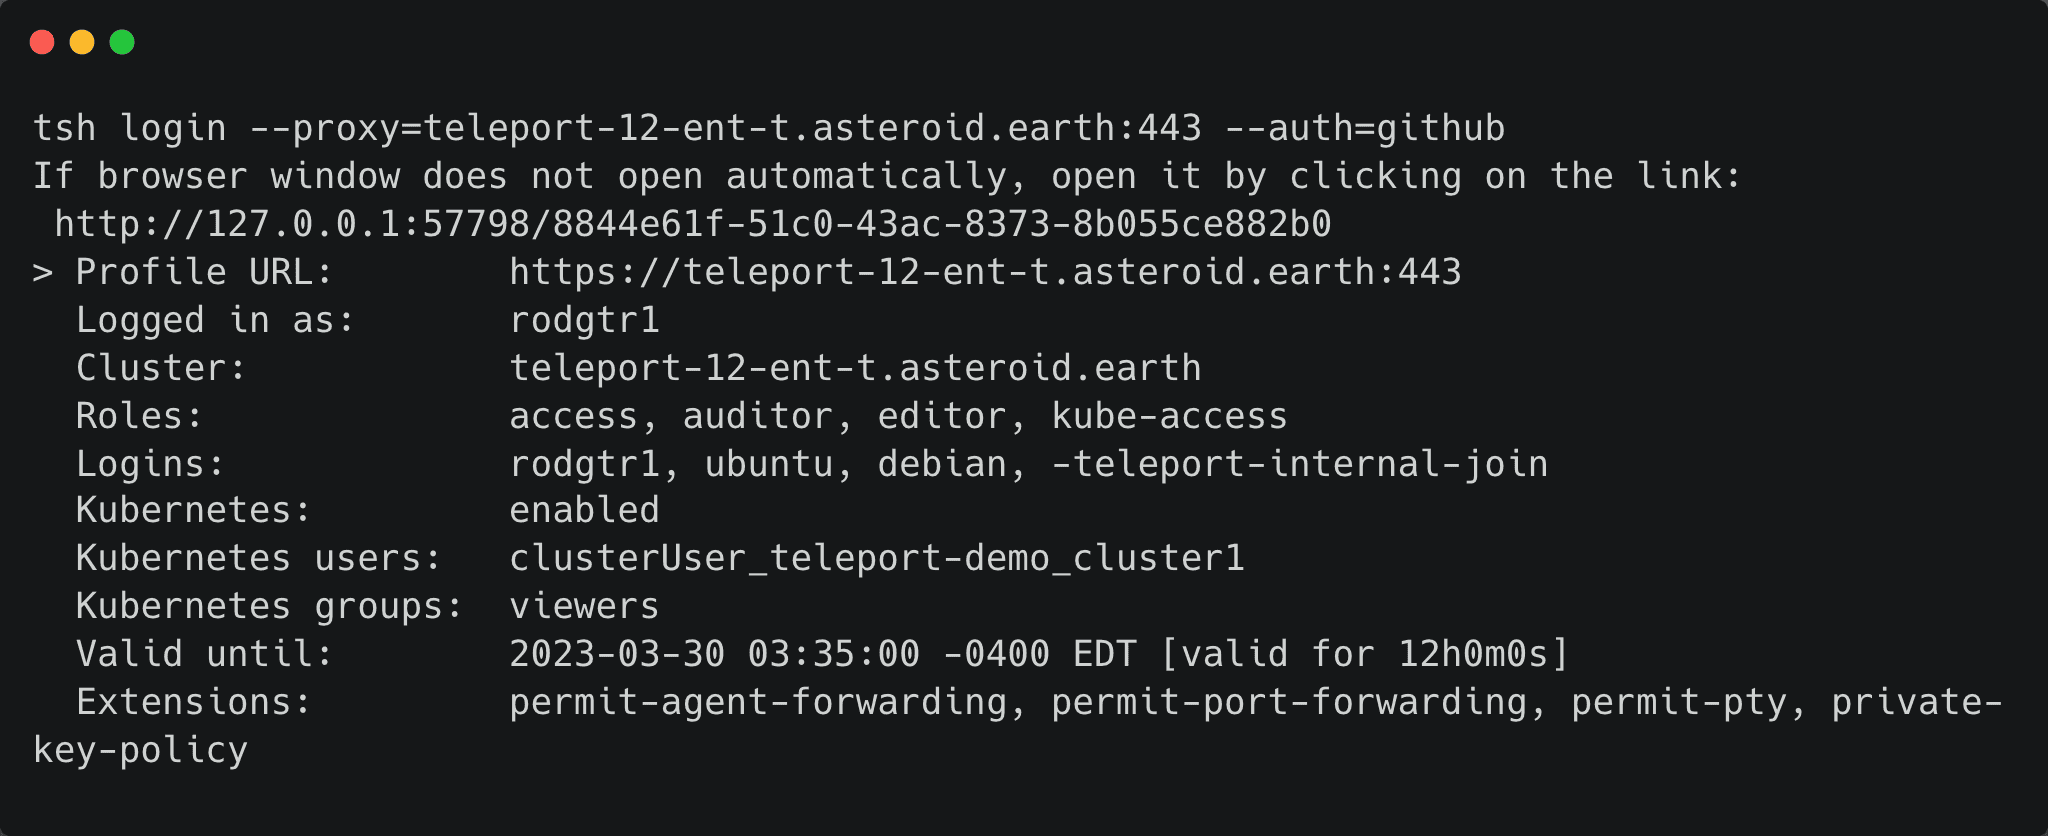
Once authorized, the CLI confirms the identity with relevant data about the user:
Now let’s list our Kubernetes clusters:
And finally, let’s login so that we can view pods:
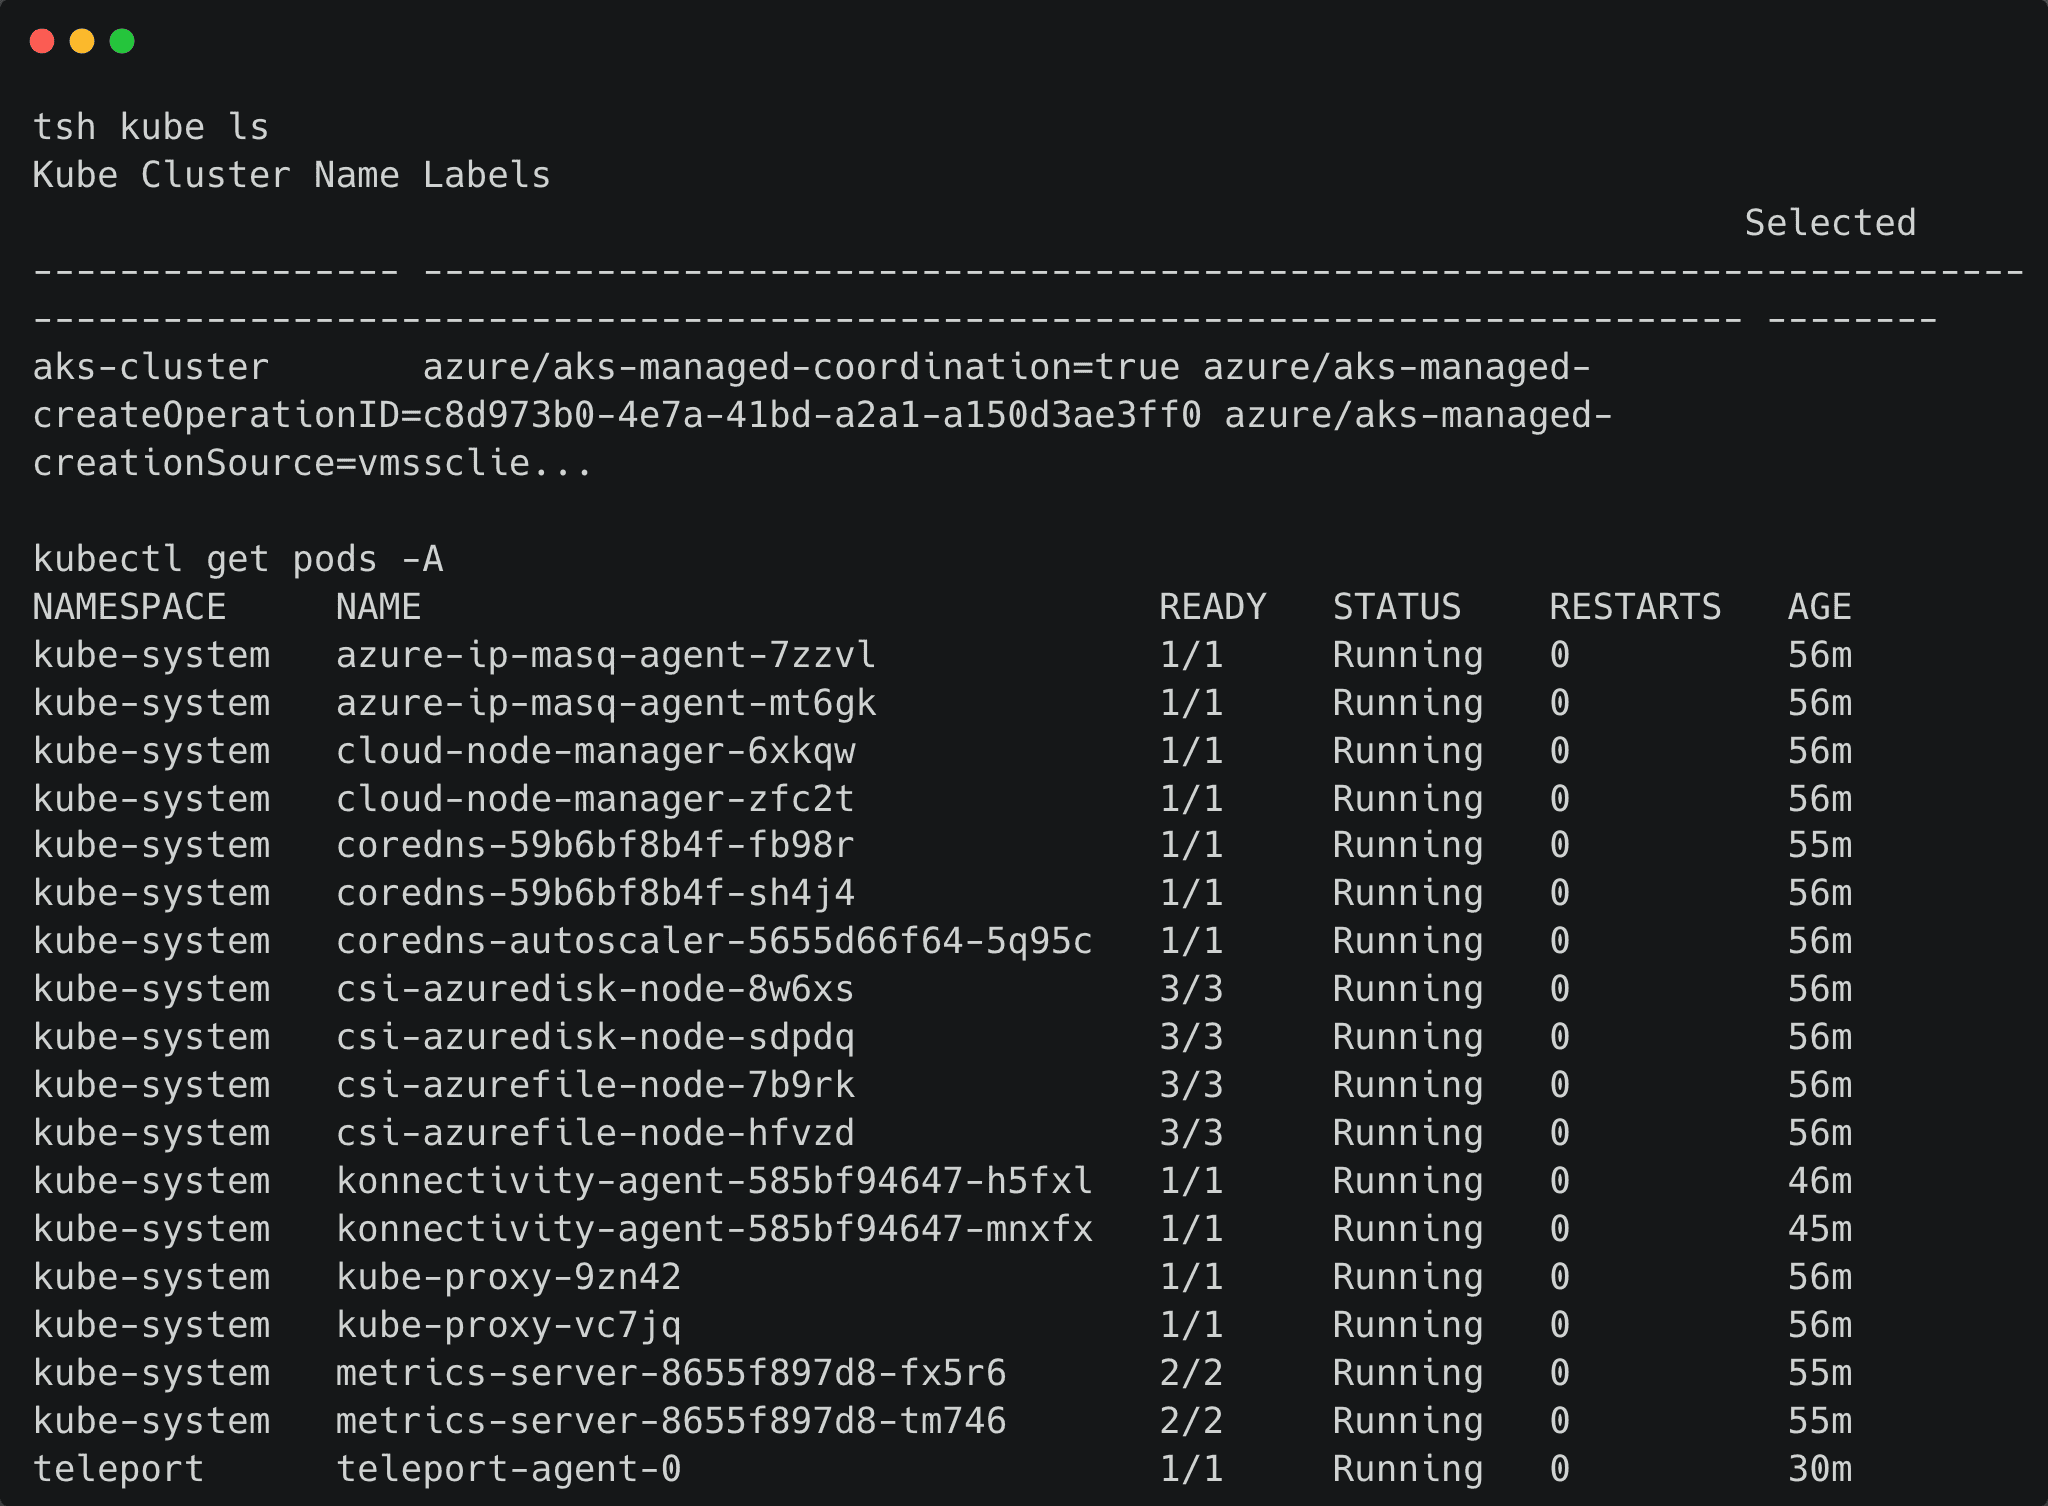
And remember that our role only allows us the view permission — this is why we are able to list pods. Let’s make sure that we aren’t able to do anything else:

This results in error due to the lack of permission to create resources.
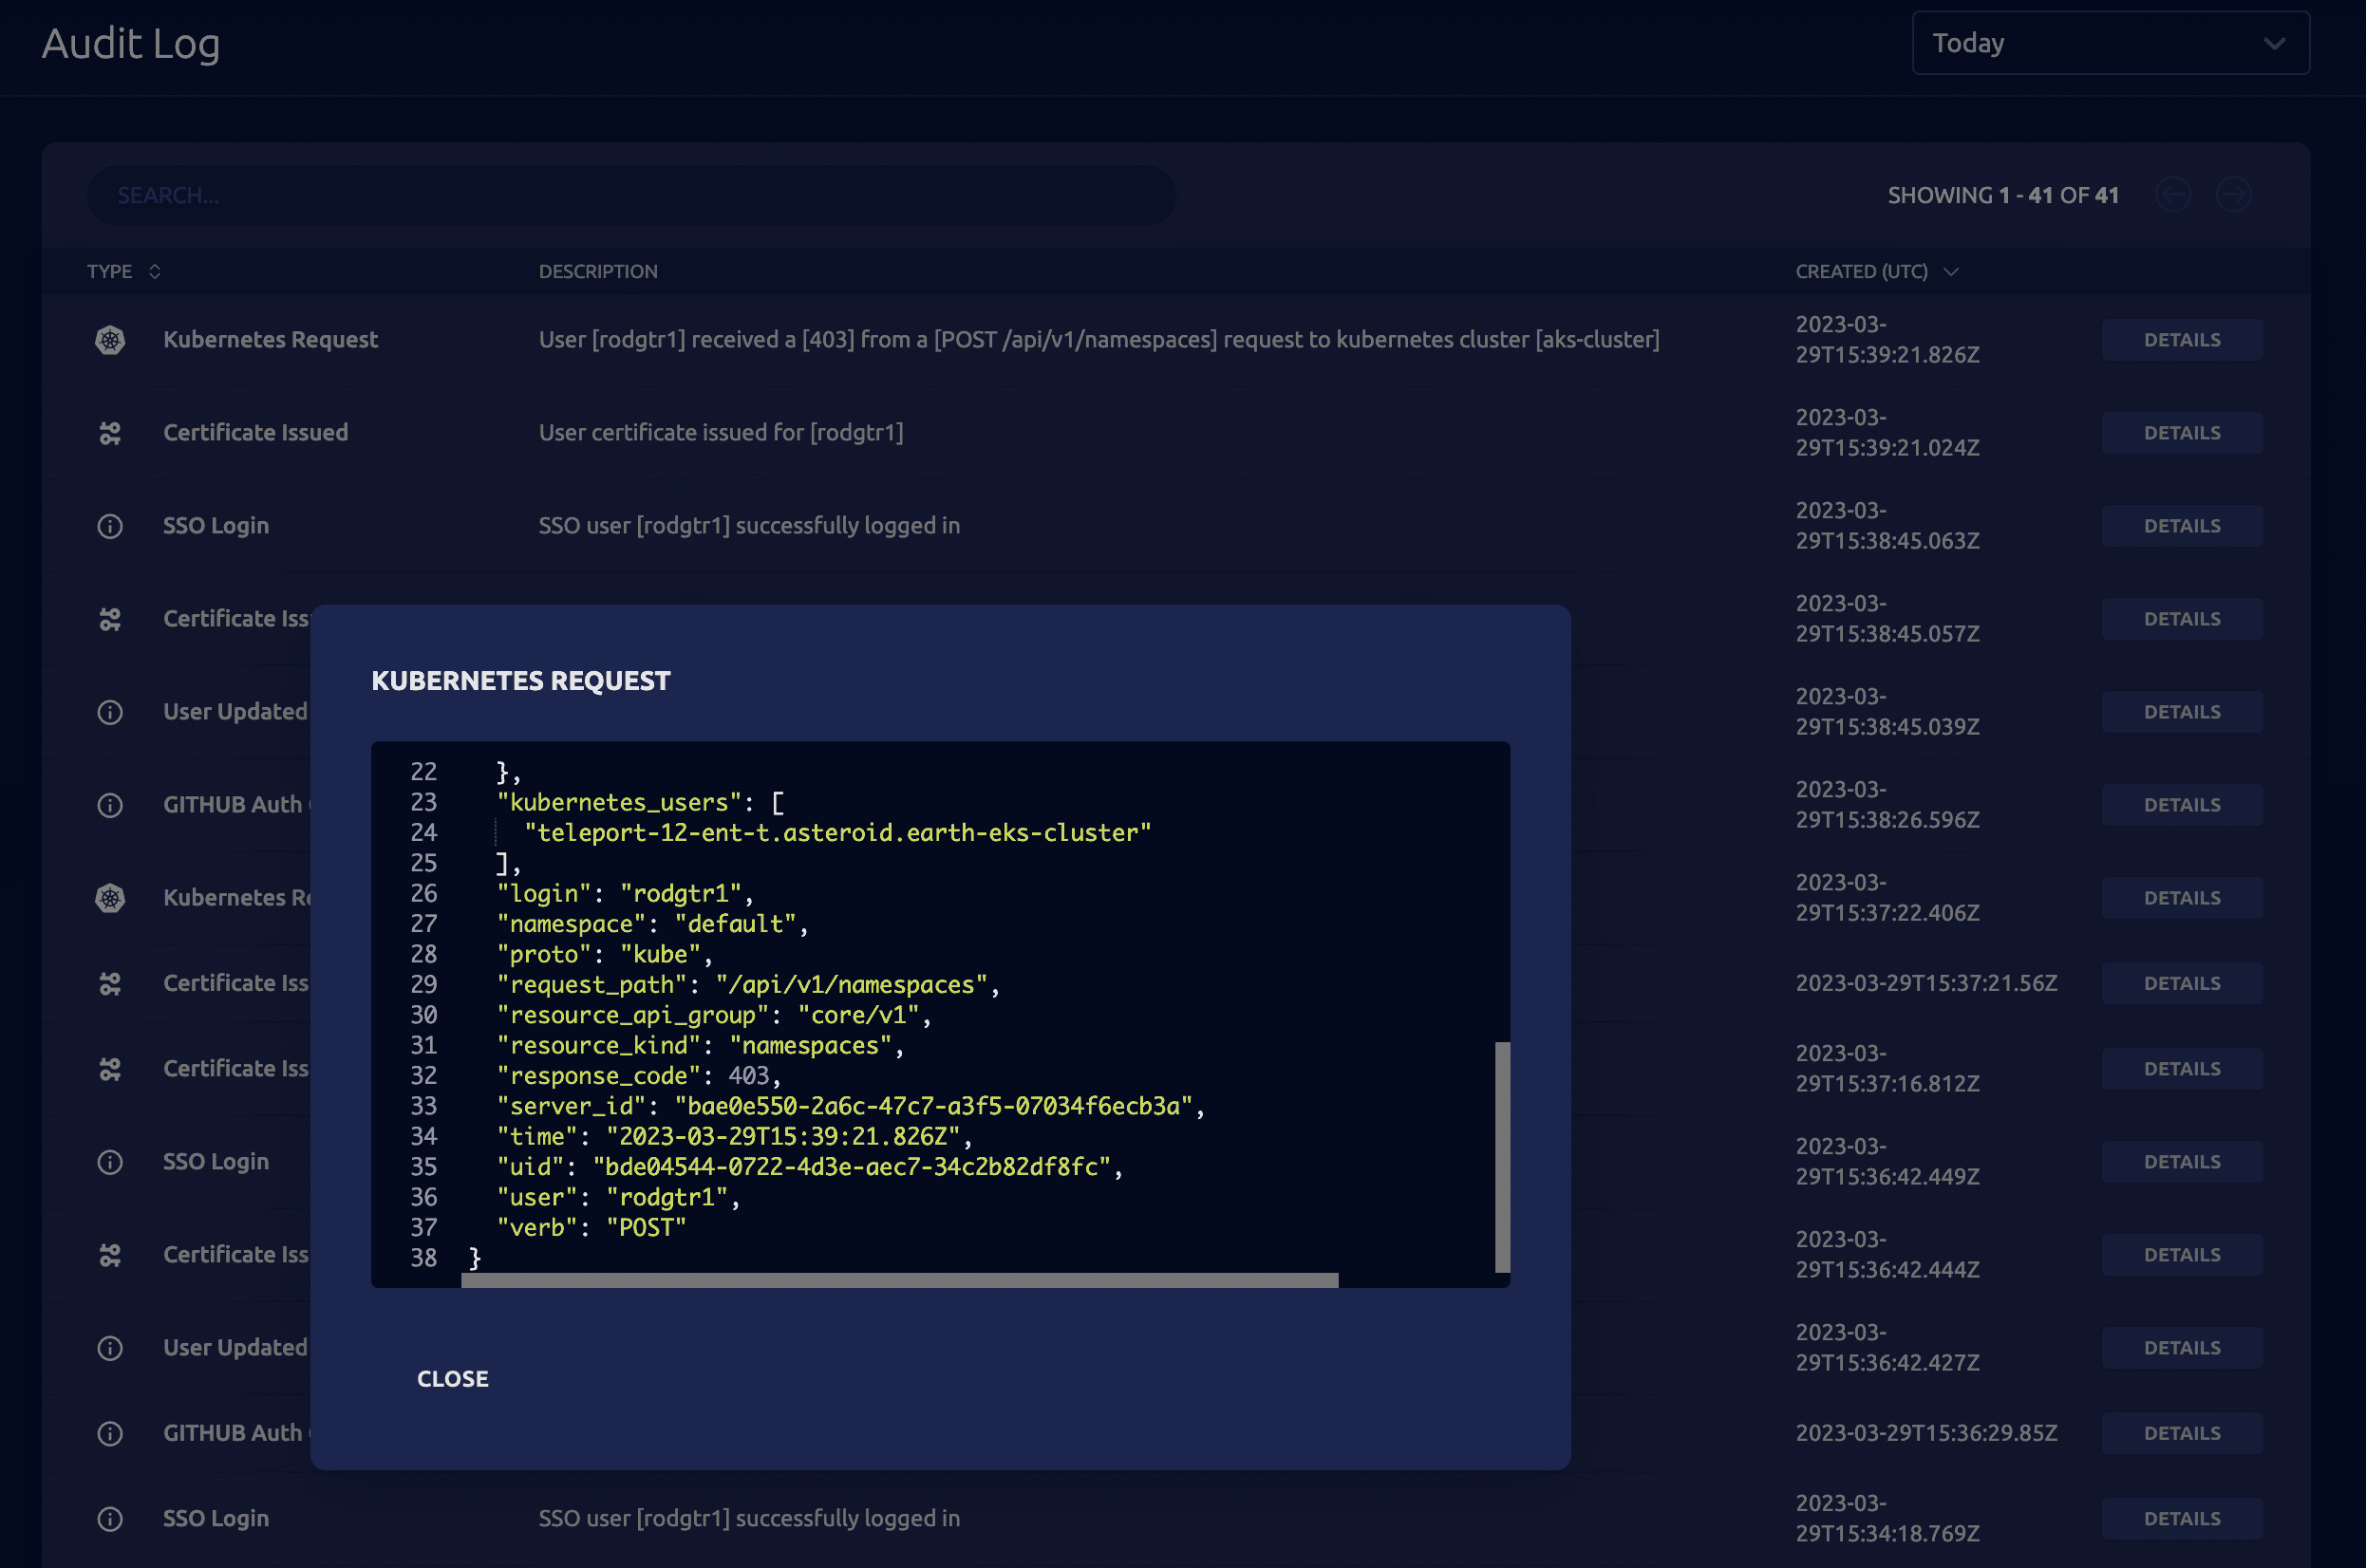
Since the action violates the access policy defined by the RBAC, it is also visible in Teleport’s audit logs where it gives me the timestamp, user, action (POST request to create a namespace) and more:
We can define fine-grained role-based access control policies that map the users from the GitHub groups to Teleport users to Kubernetes roles. This gives ultimate control to cluster administrators and DevOps teams to allow or restrict access to Kubernetes resources.
Auditing Kubectl Execs
In addition to cluster activity, Teleport will also record every kubectl exec session that can then be played back on demand in a video player. This allows auditors to see keystrokes that a user made for the entire duration of the session. Teleport can then store these recorded sessions in a local filesystem or an external source such as an AWS S3 bucket.

Conclusion
In this tutorial, we have learned how to leverage GitHub as an SSO provider for Teleport to define access policies for Azure AKS-based Kubernetes clusters.
Other related posts:
- Set Up Single Sign-On With GitHub
- Authenticating Azure AKS Kubernetes Clusters with Okta SSO
- Connect a Kubernetes Cluster to Teleport
- Kubernetes RBAC Tips
- Kubernetes API Server Security Hardening
- Setting Up Teleport Access Controls for Kubernetes
- 6 Best Practices for Kubernetes Audit Logging
Try using Teleport to connect GitHub with your AKS cluster, by signing up for our 14-day Teleport Cloud trial.