
Teleport
Remote Development With Visual Studio Code
- Version 17.x
- Version 16.x
- Version 15.x
- Version 14.x
- Older Versions
This guide explains how to use Teleport and Visual Studio Code's remote SSH extension.
Prerequisites
-
A running Teleport cluster version 16.1.0 or above. If you want to get started with Teleport, sign up for a free trial or set up a demo environment.
-
The
tctladmin tool andtshclient tool.Visit Installation for instructions on downloading
tctlandtsh.
- OpenSSH client.
- Visual Studio Code with the Remote - SSH extension for the Remote - SSH extension.
- One or more Teleport agents running the Teleport SSH Service. If you have not yet done this, read the Server Access Getting Started Guide to learn how.
Linux and macOS clients should rely on their operating system-provided OpenSSH
packages. Windows 10 clients should refer to Microsoft's OpenSSH guide;
older clients can use ssh.exe from either Git for Windows or
Microsoft's Win32-OpenSSH project.
Step 1/3. First-time setup
Configure your local SSH client to access Teleport Nodes. Replace teleport.example.com with the address of your Teleport Proxy Service (e.g., mytenant.teleport.sh for Teleport Cloud users), and replace alice with your Teleport user.
log in to your proxy:
tsh login --proxy teleport.example.com --user alicegenerate the OpenSSH config for the proxy:
tsh config --proxy teleport.example.com
Append the resulting configuration snippet into your SSH config file located in the path below:
$HOME/.ssh/config
%UserProfile%\.ssh\config
If using PowerShell on Windows to write your SSH config, note that normal shell redirection may write the file with the incorrect encoding. To ensure it's written properly, try the following:
tsh.exe config | out-file .ssh\config -encoding utf8 -append
You should be able to connect to the desired node using following command, replacing user with the username you would like to assume on the node.
ssh user@example-node.teleport.example.com
The SSH config you generated earlier instructs your SSH client to run tsh proxy ssh to access a Node in your Teleport cluster. However, running an ssh command against the Teleport Proxy Service at yourtenant.teleport.sh will result in an error.
Teleport's certificates expire fairly quickly, after which SSH attempts will fail with an error like the following:
[email protected]: Permission denied (publickey).
ERROR: exit status 255

kex_exchange_identification: Connection closed by remote host
When you see this error, re-run tsh login to refresh your local certificate.
Step 2/3. Configure Visual Studio Code
Install the Remote - SSH extension in your local VS Code instance. A new "Window Indicator" (icon with two arrows) should appear in the bottom left of your VS Code window.

Prior to connecting with a host, set the Remote.SSH: Use Local Server setting
to false in the extension setting. You can search for
@ext:ms-vscode-remote.remote-ssh to find the plugin-specific settings.
To connect, click on the icon with two arrows and select "Connect to Host...". Select "+ Add New SSH Host..."
For each host you wish to remotely develop on, add an entry like the following:
When prompted to choose which SSH Configuration file to update select the one we generated during Step 1.
This will write a new node into your SSH Configuration file. You can edit and manage all your nodes in this file.
Step 3/3. Start a Remote Development session
Start a Remote Development session by either:
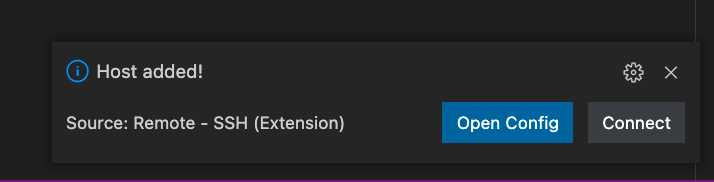
- Clicking "Connect" on the notification that opens after adding a new host.
- Clicking on the Window Indicator again and selecting "Connect to Host". You should see the host you just added and any others in your Configuration file in the drop down.
On first connect, you'll be prompted to configure the remote OS. Select the proper platform and VS Code will install its server-side component. When it completes, you should be left with a working editor:
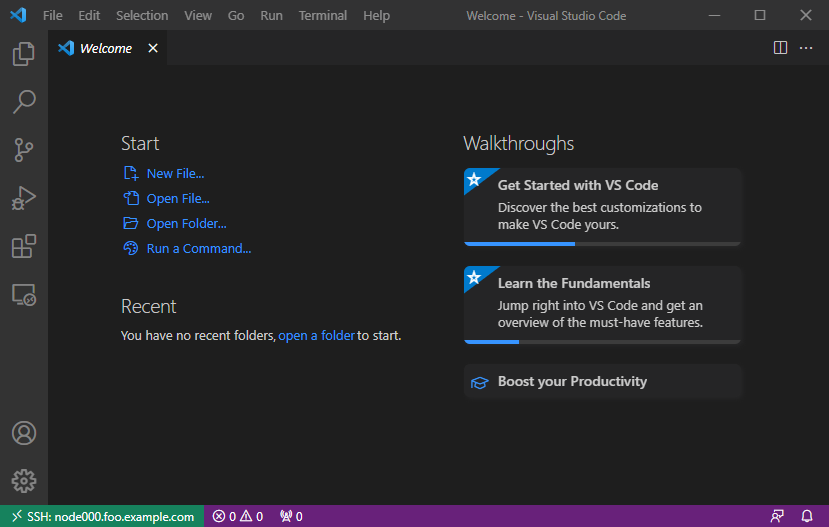
The Window Indicator in the bottom left highlights the currently connected remote host.
Next Steps
Connecting to OpenSSH Hosts
It's possible to remotely develop on any OpenSSH host joined to a Teleport cluster so long as its host OS is supported by VS Code. Refer to the OpenSSH guide to configure the remote host to authenticate via Teleport certificates, after which the procedure outlined above can be used to connect to the host in VS Code.
Using OpenSSH clients
This guide makes use of tsh config; refer to the
dedicated guide for additional information.