Secure Amazon EKS Access with Teleport
Enterprises are embracing the cloud native paradigm for agility, scalability, composability, and portability. Kubernetes, the open source container orchestration engine, is the foundation of modern, cloud native workloads. AWS customers can leverage managed Kubernetes available in the form of Amazon Elastic Kubernetes Service (EKS) or deploy a cluster based on upstream Kubernetes distribution running in a set of Amazon EC2 instances. Irrespective of how Kubernetes is deployed, securing the clusters is critical.
Enterprises commonly run multiple Kubernetes clusters dedicated to development, staging, testing, and production environments. With an identity-aware proxy such as Teleport, enterprises can effectively manage the per-cluster policy by allowing or restricting access to individual clusters based on user persona or job function.
AWS customers can configure Teleport as a bastion to control access to EC2 instances, RDS databases, and EKS clusters.
Part 1: Securing Amazon EKS clusters with Identity-aware Access proxy
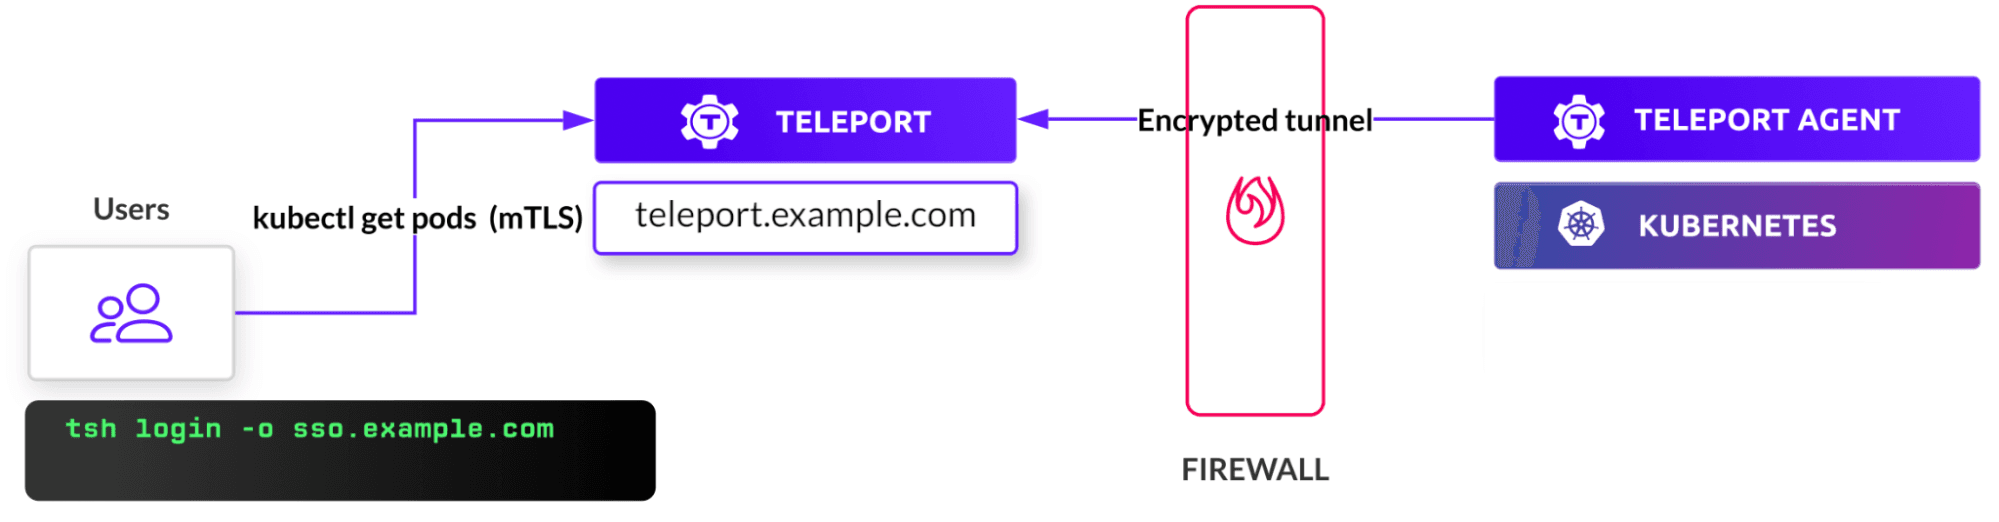
In the first part of this series on securing access to Amazon EKS clusters, we will explore how Teleport brings in an additional layer of security to Kubernetes. It covers the steps of launching and configuring the Teleport proxy/auth server, two EKS clusters running staging and production environments, and the Teleport Kubernetes agent deployed in each EKS cluster.
Below is a quick summary of the benefits of using Teleport to access managed and self-hosted Kubernetes clusters:
- Identity-based access - Enforces the use of auto-expiring x.509 certificates for users and applications.
- Access requests - Enables just-in-time privilege escalation for accessing the production clusters through an integrated RBAC
- Consolidated policy - Centralizes policy definitions based on RBAC across all environments
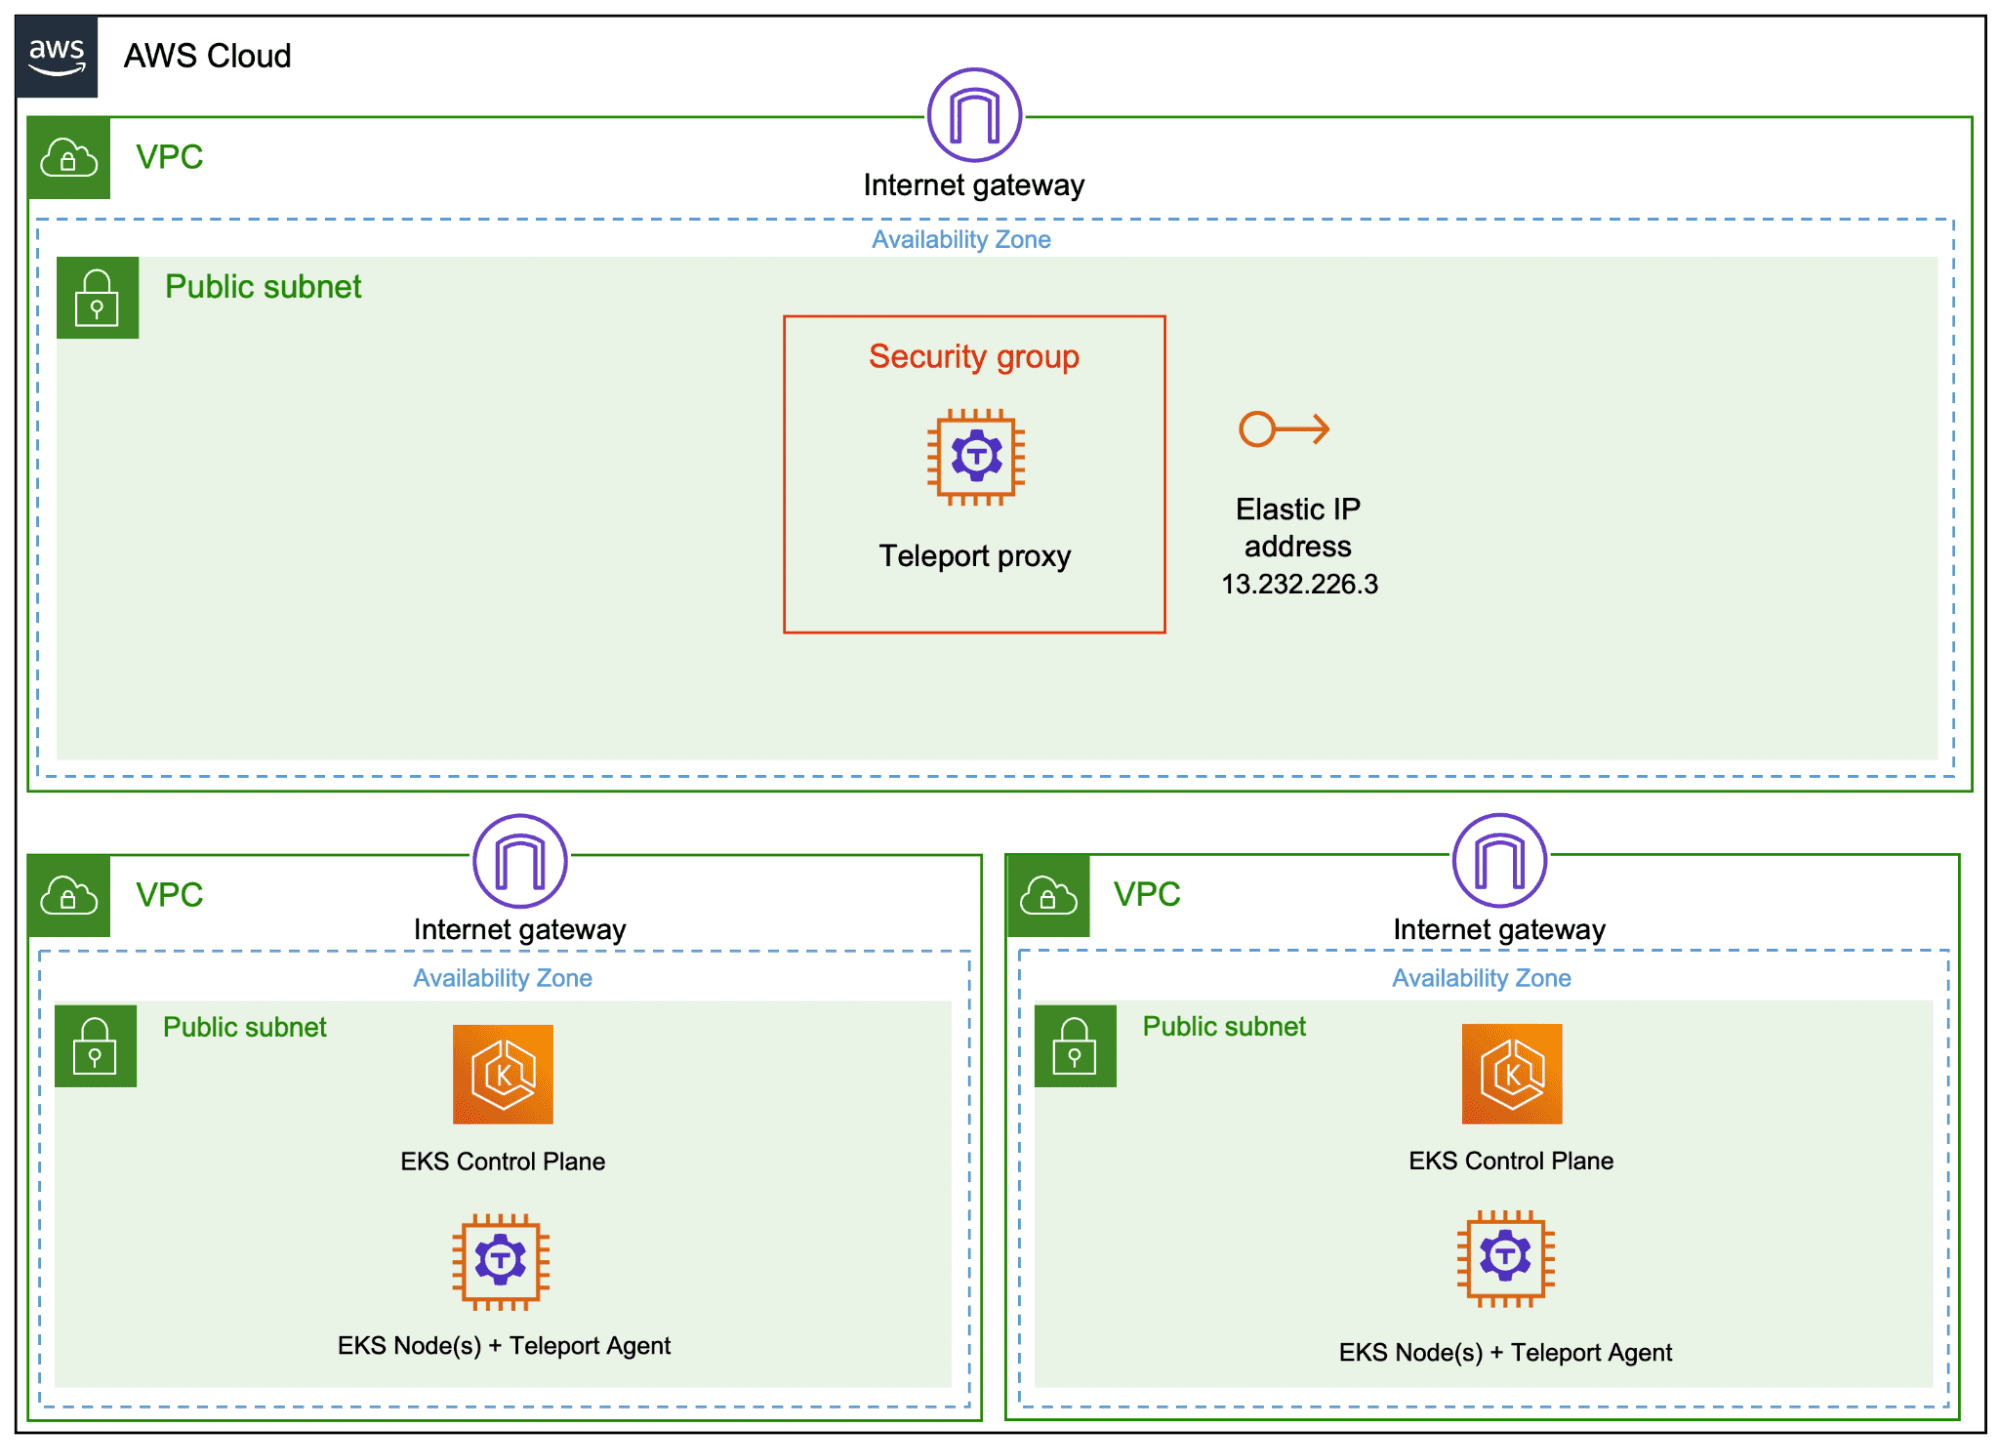
By the end of this step, we will have two Amazon EKS clusters running the Teleport Kubernetes agent connected to the Teleport proxy/auth server running in an Amazon EC2 instance. To keep the configuration simple, we will be provisioning these resources within the public subnet of three separate VPCs. The Amazon EKS clusters may have one or more nodes depending on the environment requirements.
The topology and architecture of this deployment is depicted below:
Step 1 - Setup Teleport as a bastion host
Note: This tutorial builds upon the AWS bastion with Teleport tutorial and extends the scenario to protect EKS Access. Please refer to the steps mentioned in the tutorial to configure the VPC and launch a bastion host running Teleport auth and proxy server.
We will leverage the Teleport proxy and auth server to extend it to connect, authenticate and authorize Amazon EKS clusters. The topology is identical to the depiction shown below:
Once the Teleport bastion is setup, create a local Teleport user tele-admin, to enable you to manage the Teleport environment. To create the user, you will need to execute tctl users add as the following:
$ tctl users add tele-admin --roles=editor,access --kubernetes-groups=system:masters

Once the user is created, complete the signup by accessing the web interface available at the link shown in the output.
Step 2 - Launch EKS cluster
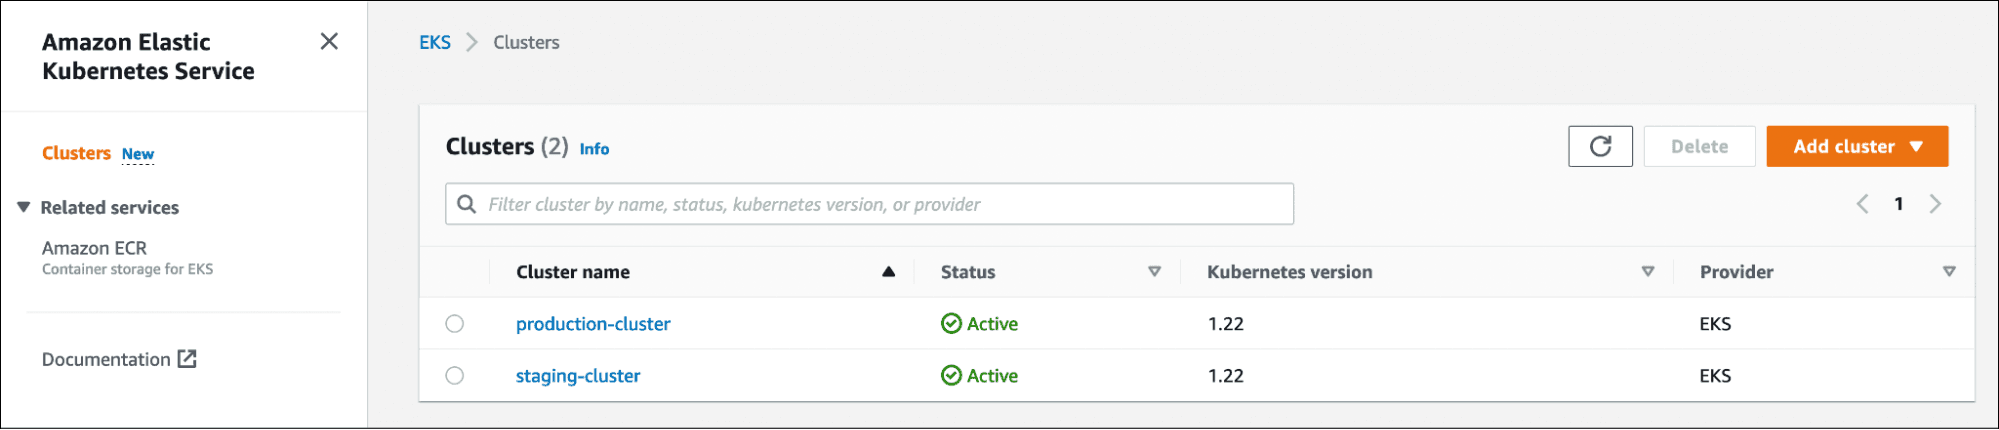
Now, we will launch two Amazon EKS clusters with three nodes through the eksctl command-line tool. The clusters represent staging and production environments that demand different levels of authentication and authorization.
Create staging cluster:
$ touch eks-config-staging
$ export KUBECONFIG=$PWD/eks-config-staging
$ eksctl create cluster \
	--name staging-cluster \
	--region ap-south-1 \
	--version 1.22 \
	--nodegroup-name ng-workers \
	--node-type t3.medium \
	--nodes 3 \
	--nodes-min 3 \
	--nodes-max 6 \
	--node-ami-family Ubuntu2004 \
	--set-kubeconfig-context=true
Create production cluster:
$ touch eks-config-prod
$ export KUBECONFIG=$PWD/eks-config-prod
$ eksctl create cluster \
	--name production-cluster \
	--region ap-south-1 \
	--version 1.22 \
	--nodegroup-name ng-workers \
	--node-type t3.medium \
	--nodes 3 \
	--nodes-min 3 \
	--nodes-max 6 \
	--node-ami-family Ubuntu2004 \
	--set-kubeconfig-context=true
Wait for the clusters to get provisioned.
Next, let’s generate the tokens needed to add the Kubernetes clusters to the Teleport proxy.
$ tctl nodes add --roles=kube --ttl=10000h --format=json
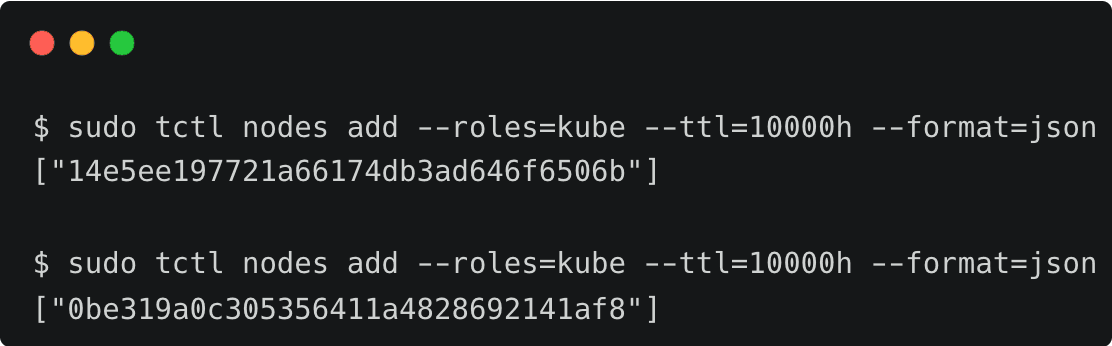
Save the generated tokens as they are needed in the following steps.
Switch to the staging cluster context and install the Teleport agent Helm Chart in the cluster.
$ KUBECONFIG=$PWD/eks-config-staging
$ TOKEN=14e5ee197721a66174db3ad646f6506b
$ PROXY_ADDR=tele.j-access.in:443
$ CLUSTER='staging'

$ helm repo add teleport https://charts.releases.teleport.dev
$ helm repo update

$ helm install teleport-agent teleport/teleport-kube-agent \
	--set kubeClusterName=${CLUSTER} \
  	--set proxyAddr=${PROXY_ADDR} \
  	--set authToken=${TOKEN} \
  	--set labels.env=${CLUSTER} \
  	--create-namespace \
  	--namespace=teleport-agent
Repeat the same step in the production cluster by switching the context and the environment variables.
$ KUBECONFIG=$PWD/eks-config-prod
$ TOKEN=0be319a0c305356411a4828692141af8
$ PROXY_ADDR=tele.j-access.in:443
$ CLUSTER='production'

$ helm install teleport-agent teleport/teleport-kube-agent \
	--set kubeClusterName=${CLUSTER} \
  	--set proxyAddr=${PROXY_ADDR} \
  	--set authToken=${TOKEN} \
  	--set labels.env=${CLUSTER} \
  	--create-namespace \
  	--namespace=teleport-agent
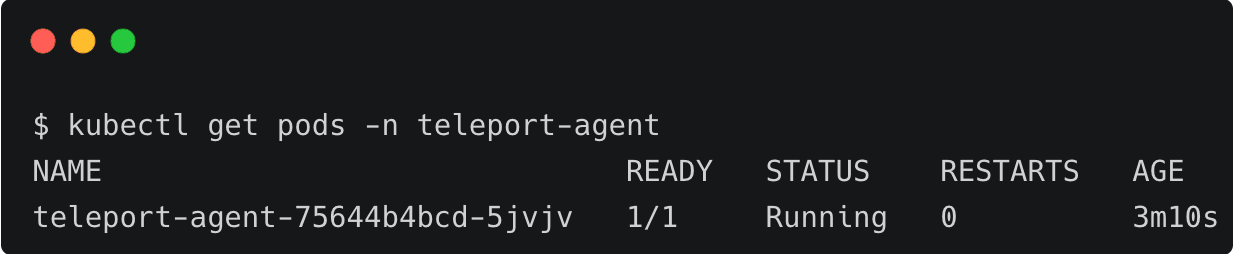
This installs the Teleport agent in the teleport-agent namespace of the clusters. You can now access the Kubernetes clusters through the Teleport proxy.
Step 3 - Accessing Amazon EKS clusters through Teleport
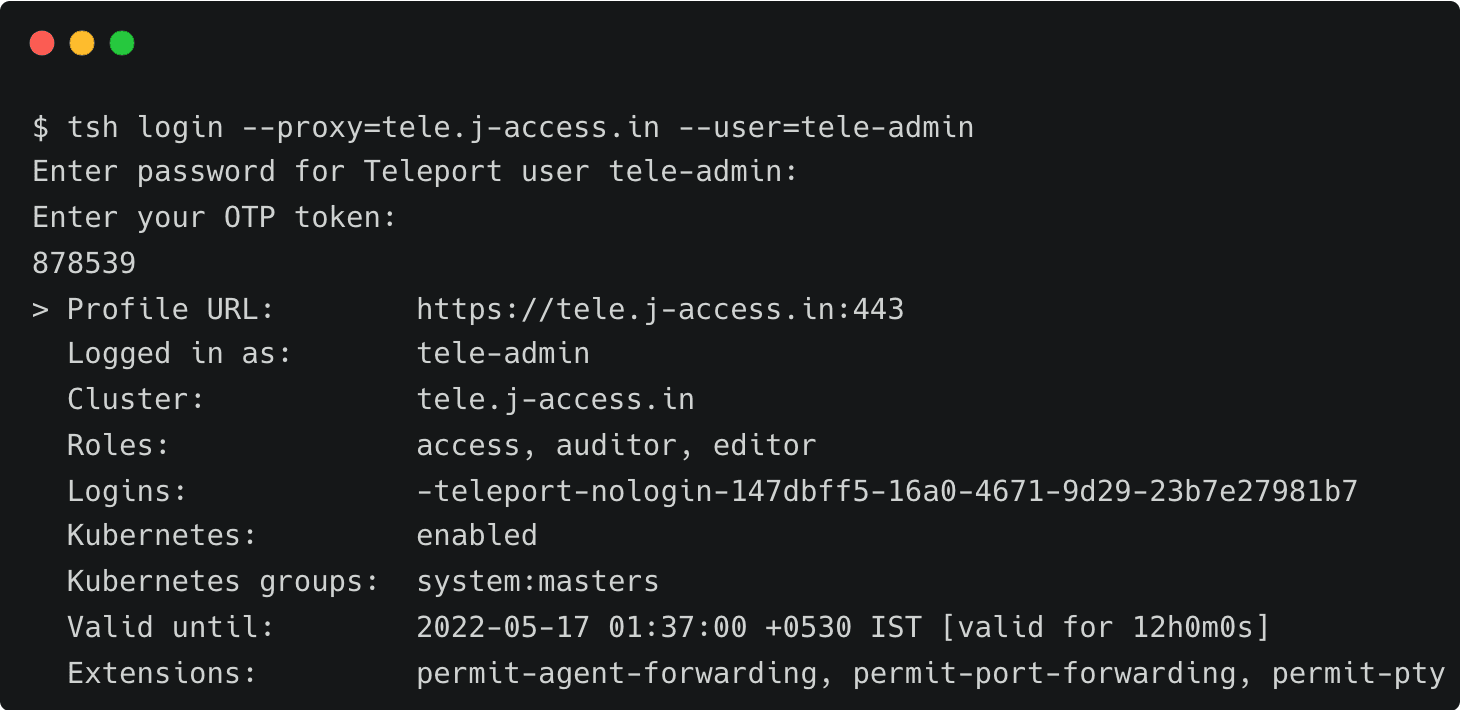
Log in to the Teleport cluster as tele-admin to access the Kubernetes clusters associated with the proxy and auth server.
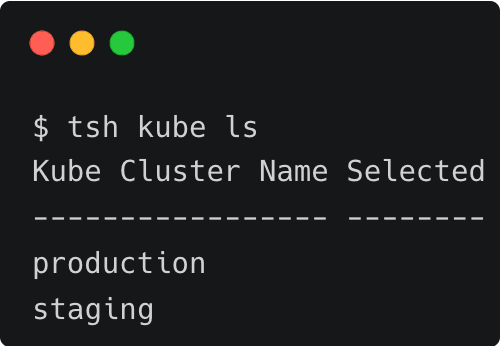
Run the below command to list the Amazon EKS clusters:
$ tsh kube ls
Create a separate directory to store the new Kubernetes configuration file generated when you log in to one of the clusters through Teleport.
$ mkdir tele-kube && cd tele-kube
$ touch tele-kubeconfig
$ export KUBECONFIG=$PWD/tele-kubeconfig
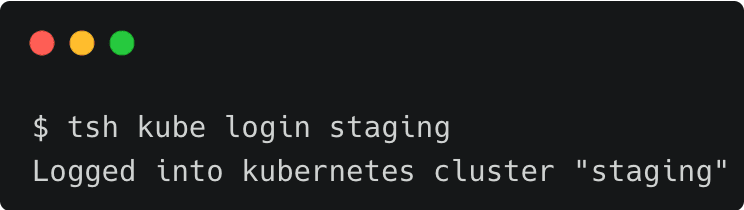
Let's access the staging cluster by running the following command:
$ tsh kube login staging
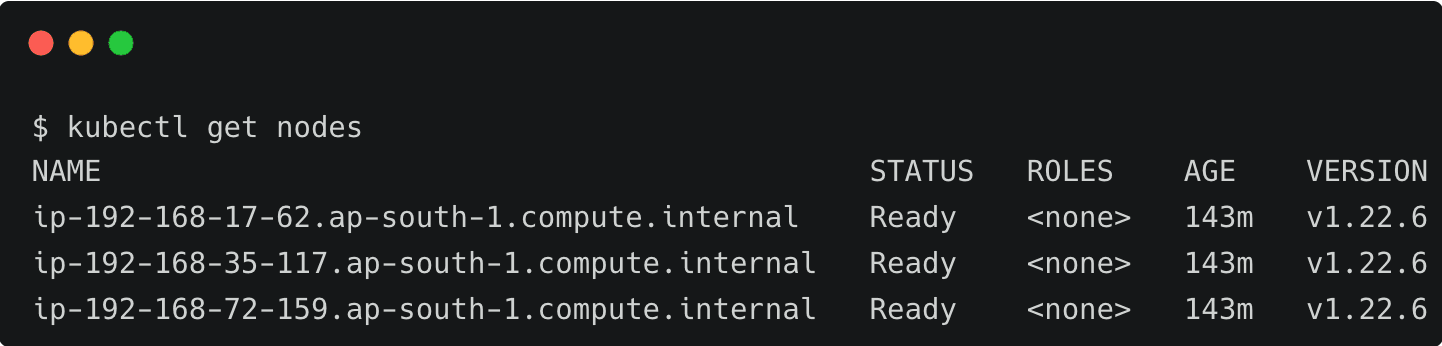
We can continue to use kubectl to access the cluster.
We can switch to the production EKS cluster through the tsh command.
$ tsh kube login production

When we use the Teleport client to access the Kubernetes clusters, it automatically adds new context to the current kubeconfig file. Explore the configuration by looking at the contents of the tele-kubeconfig file.
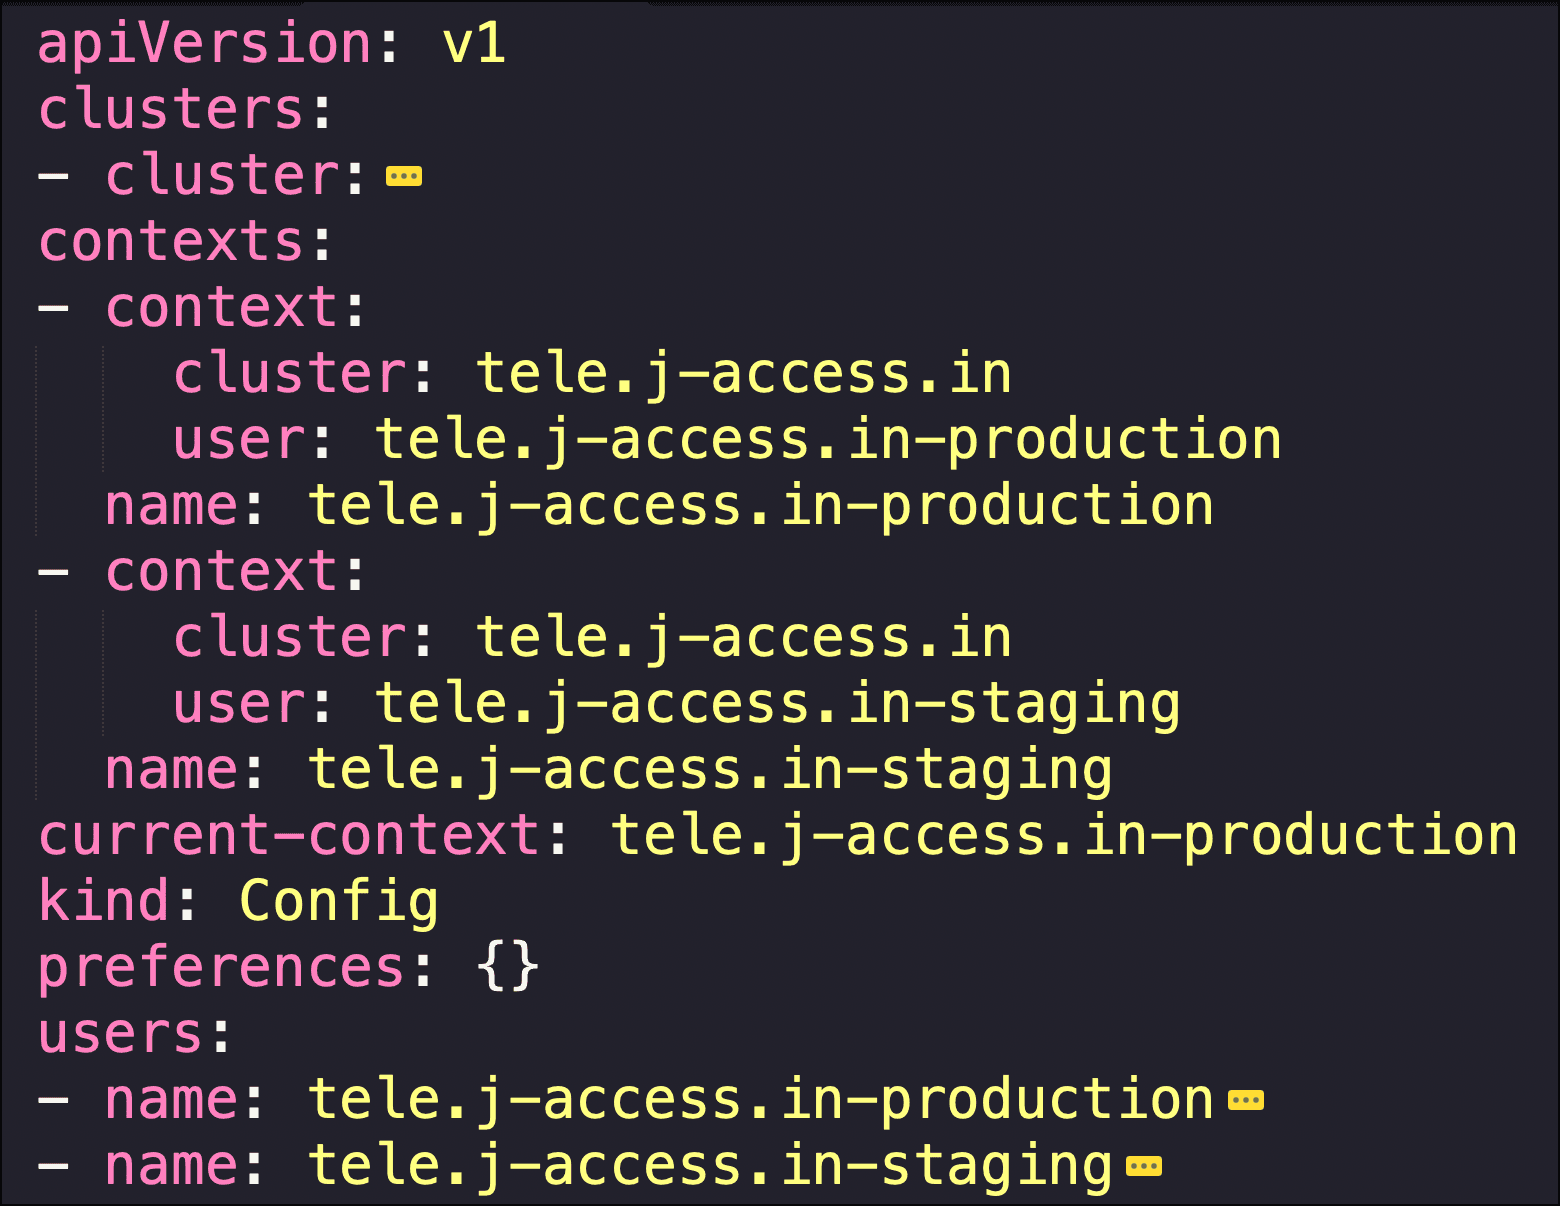
The contexts section has an entry for each cluster accessed through the tsh command line tool.
Once the Kubernetes clusters are added to the Teleport proxy, users don’t need explicit access to the kubeconfig file. When they use the Teleport client, it gets generated automatically. This approach prevents sharing the original kubeconfig file with every user of the Kubernetes cluster.
In this first part of the series, we explored Teleport Access to securely connect to Amazon EKS clusters. An Amazon EC2 instance running Teleport proxy and auth services provides the first line of defense while the Teleport agent deployed in each Kubernetes cluster adds RBAC capabilities for fine-grained access control.
In the second part, we will cover how to add SSO for accessing Amazon EKS clusters.
Table Of Contents
Teleport Newsletter
Stay up-to-date with the newest Teleport releases by subscribing to our monthly updates.
Tags
Tags
Teleport Newsletter
Stay up-to-date with the newest Teleport releases by subscribing to our monthly updates.