How to use Teleport Policy
Teleport Policy provides a framework for visualizing and managing access controls across an organization’s infrastructure.
This interface enables administrators to efficiently identify and address potential security risks, such as overly broad permissions or conflicting roles, ensuring that access is granted on principles of least privilege.
How to use Policy with Access Graph
Teleport Access Graph can help you to answer questions like:
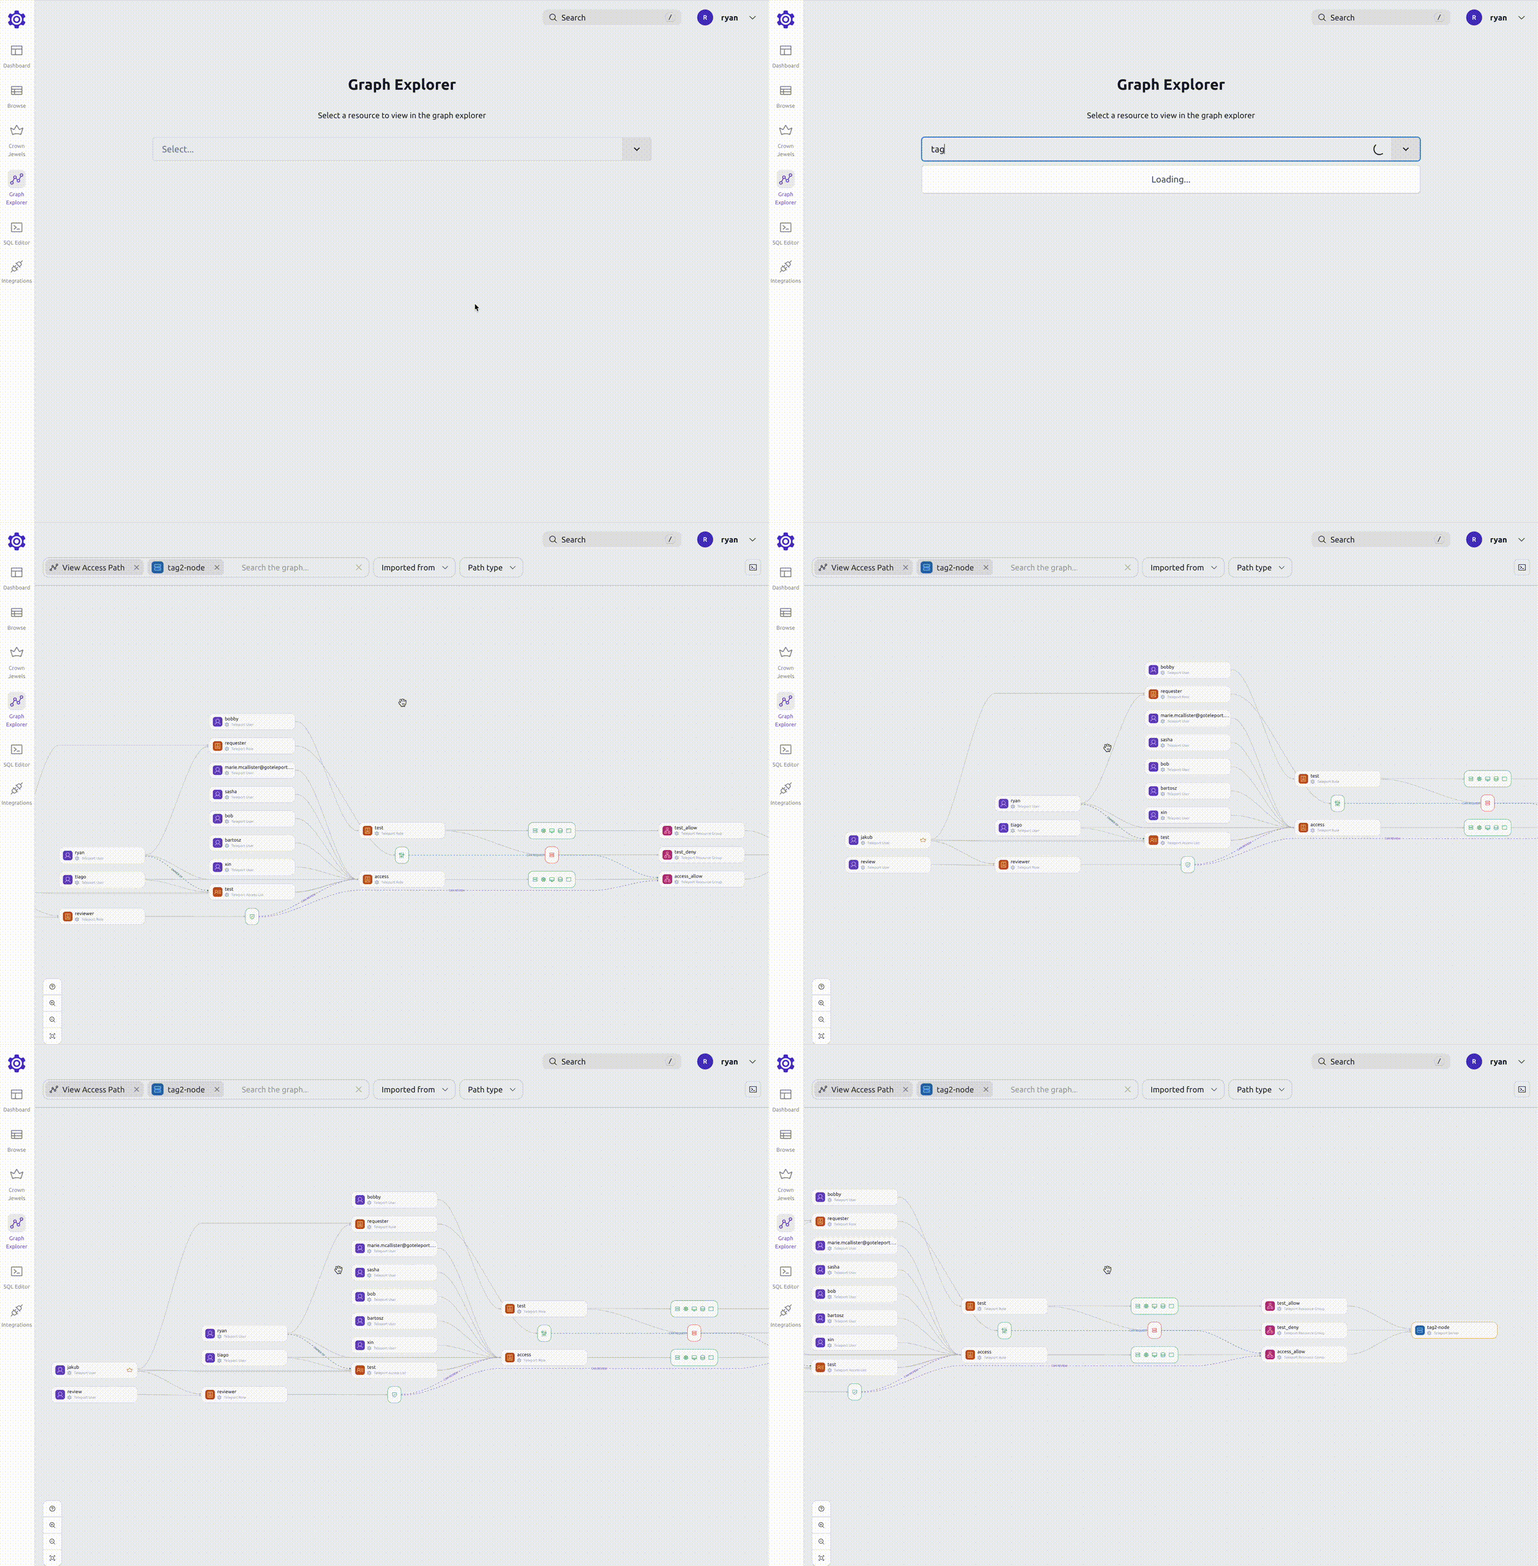
- Who can access a specific resource?
Determine who has access to resources and understand the pathways that grant access:
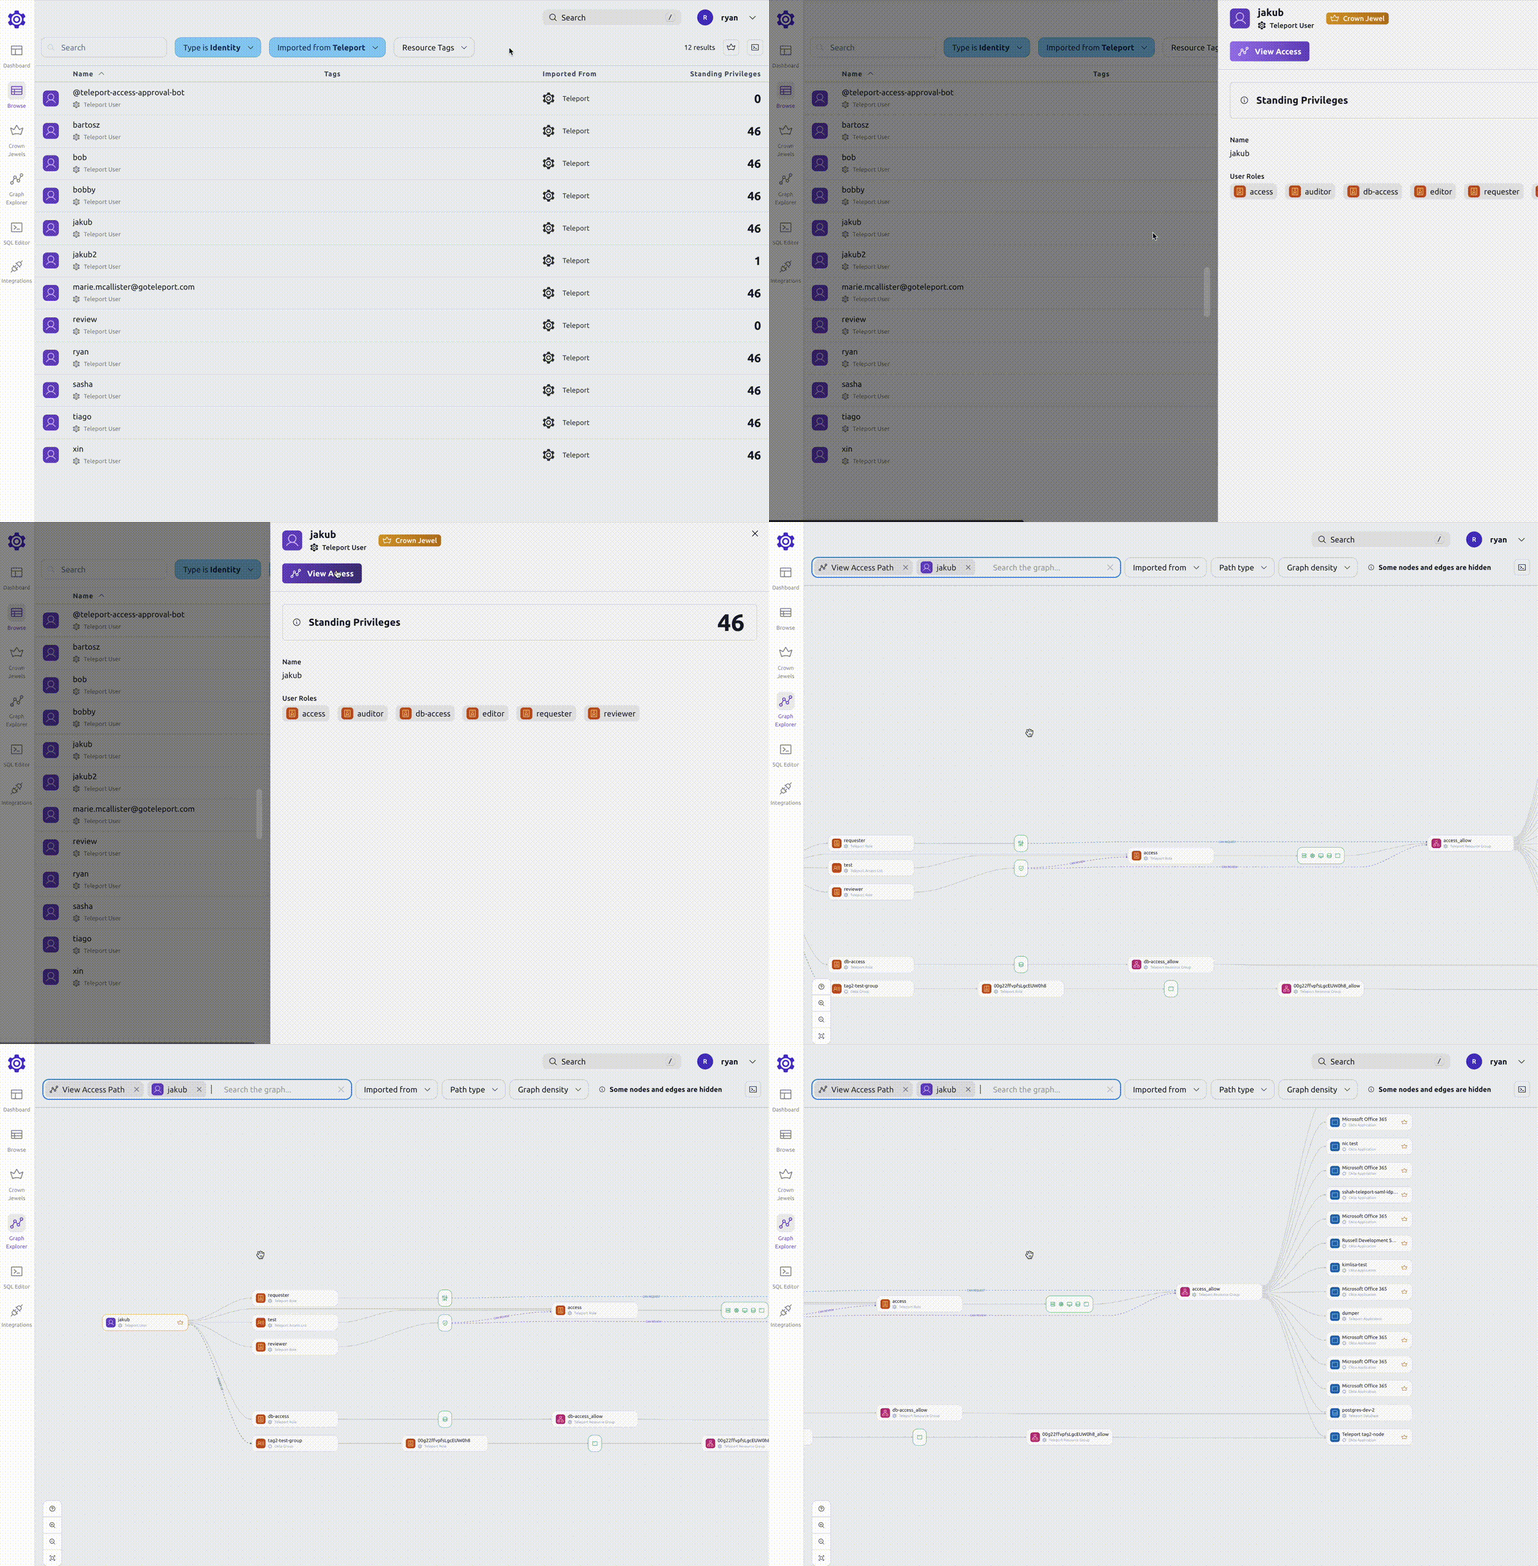
- What resources can a specific user access?
At a glance, you can view all the resources a user can access:
Graph View
Graph view is the main view that shows the connections between identities and resources.
By default, an aggregated view of access paths grouped by identity is shown.
Search
To search for a graph node, use the search bar at the top of the page or press /.
This will bring up the global search, where you can search for nodes, pages and access paths.

Clicking on a node will open a drawer with more details about that node.
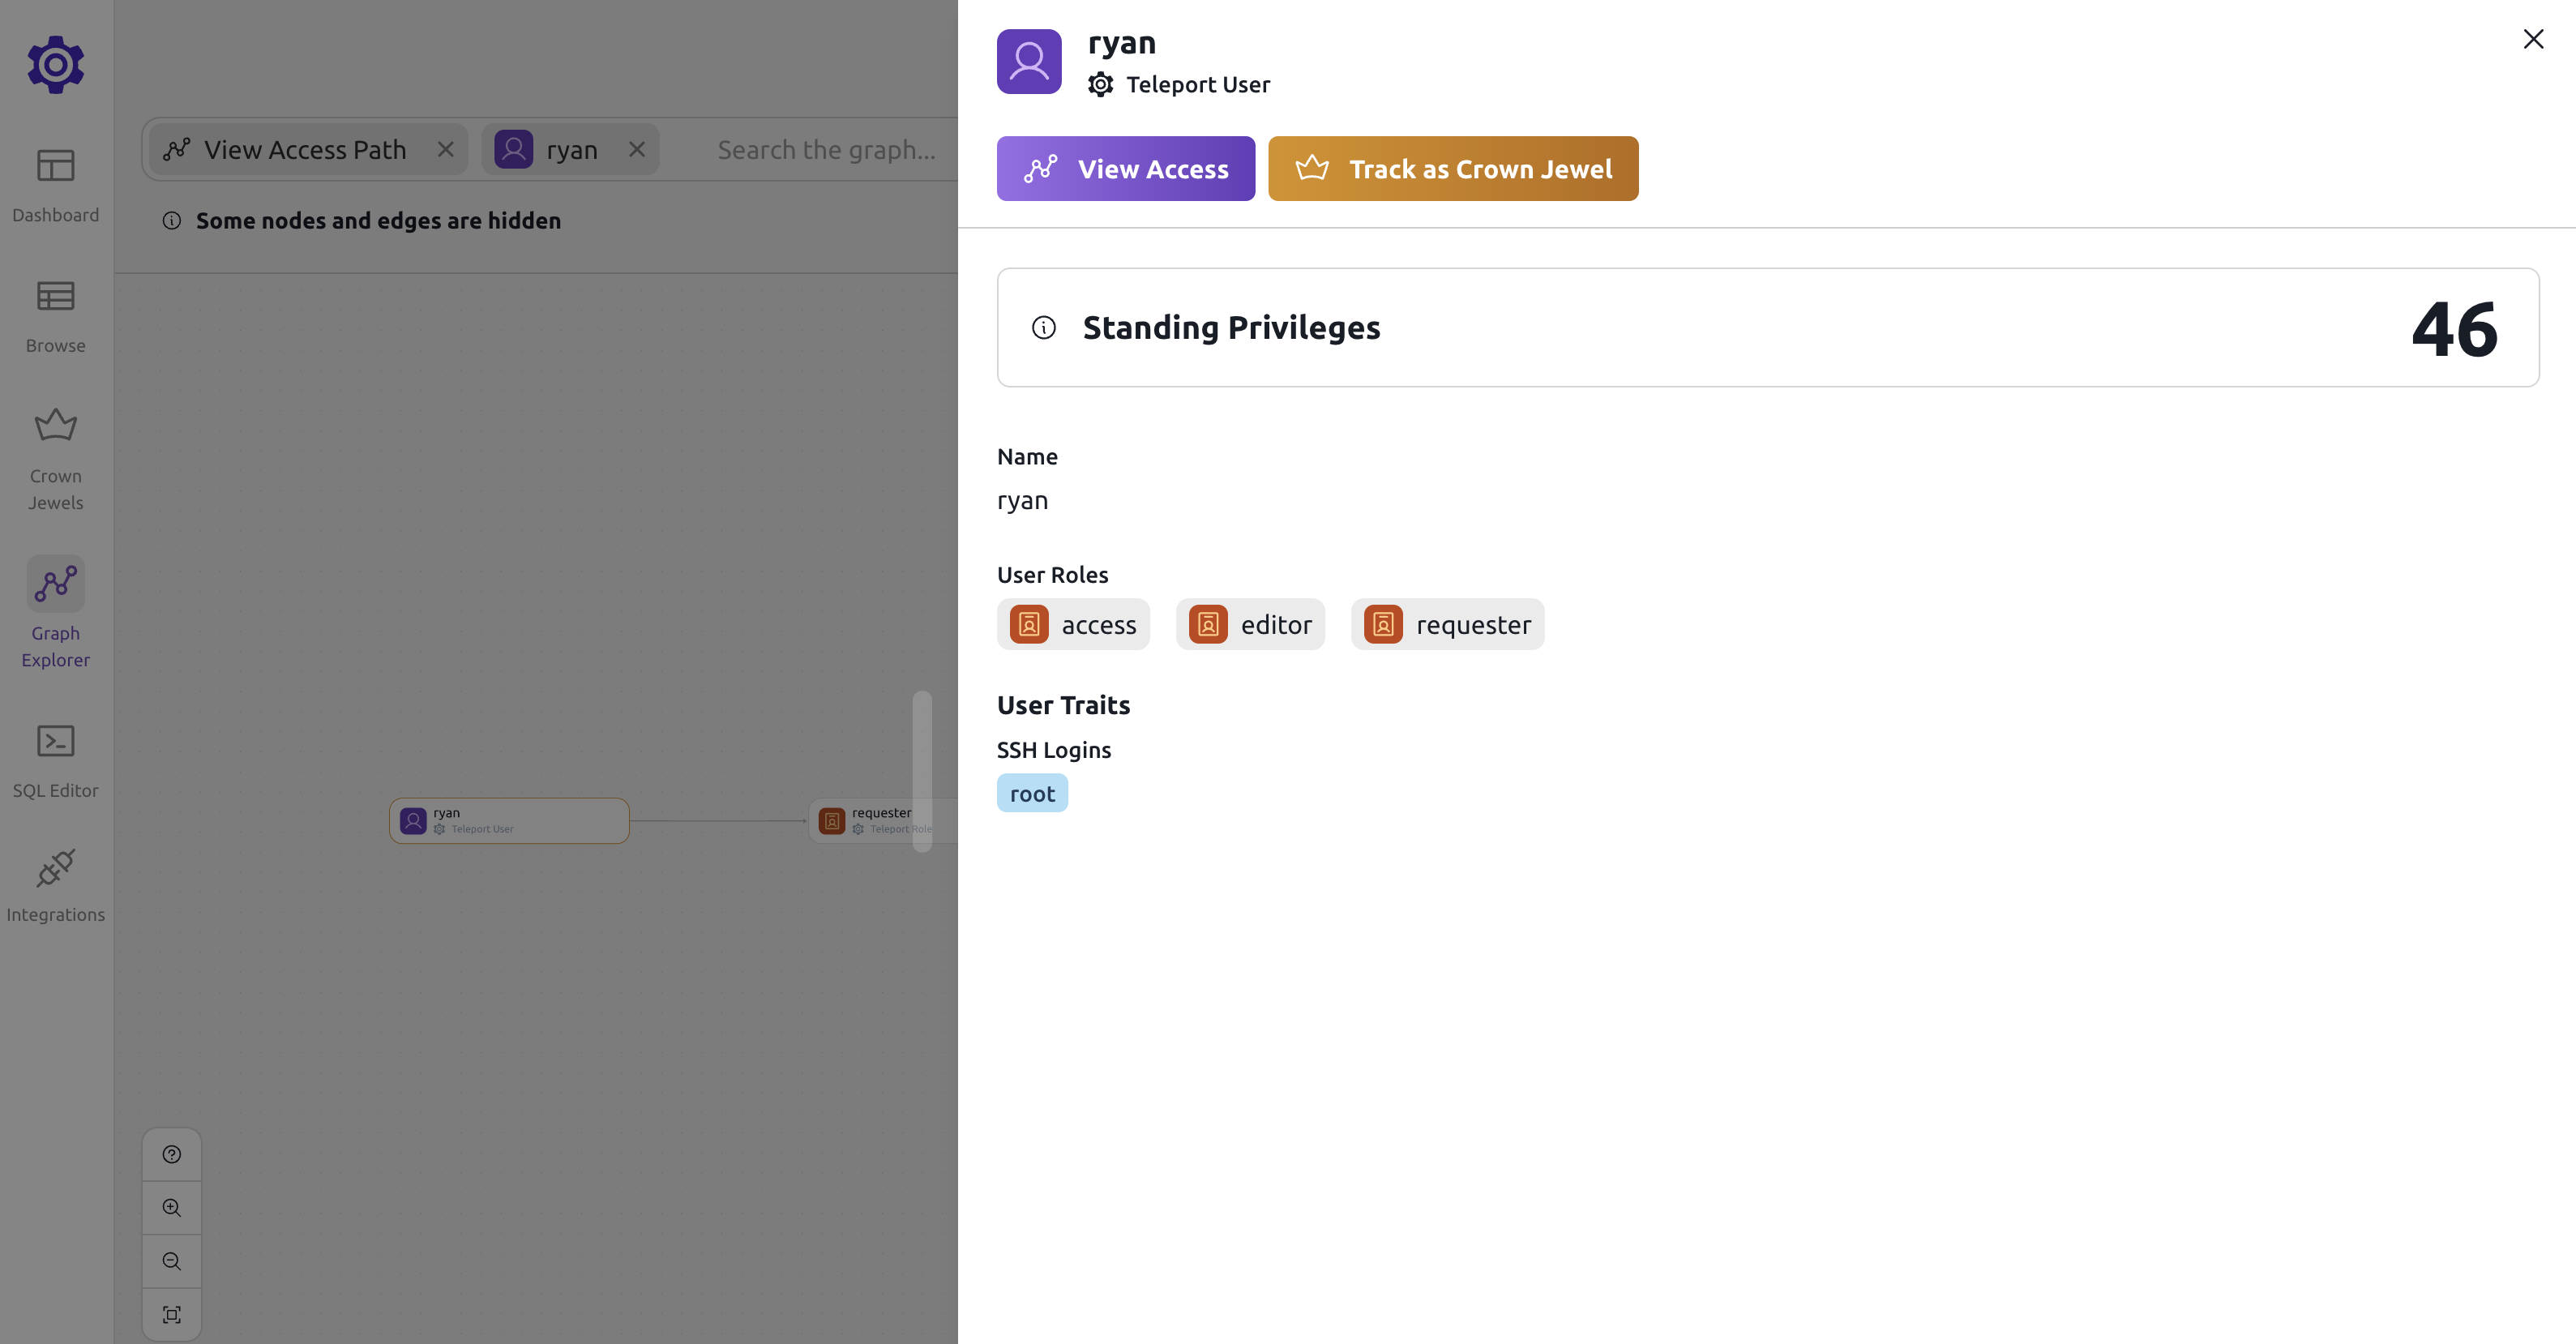
Viewing a node's access path will open up the graph explorer view with the selected node.
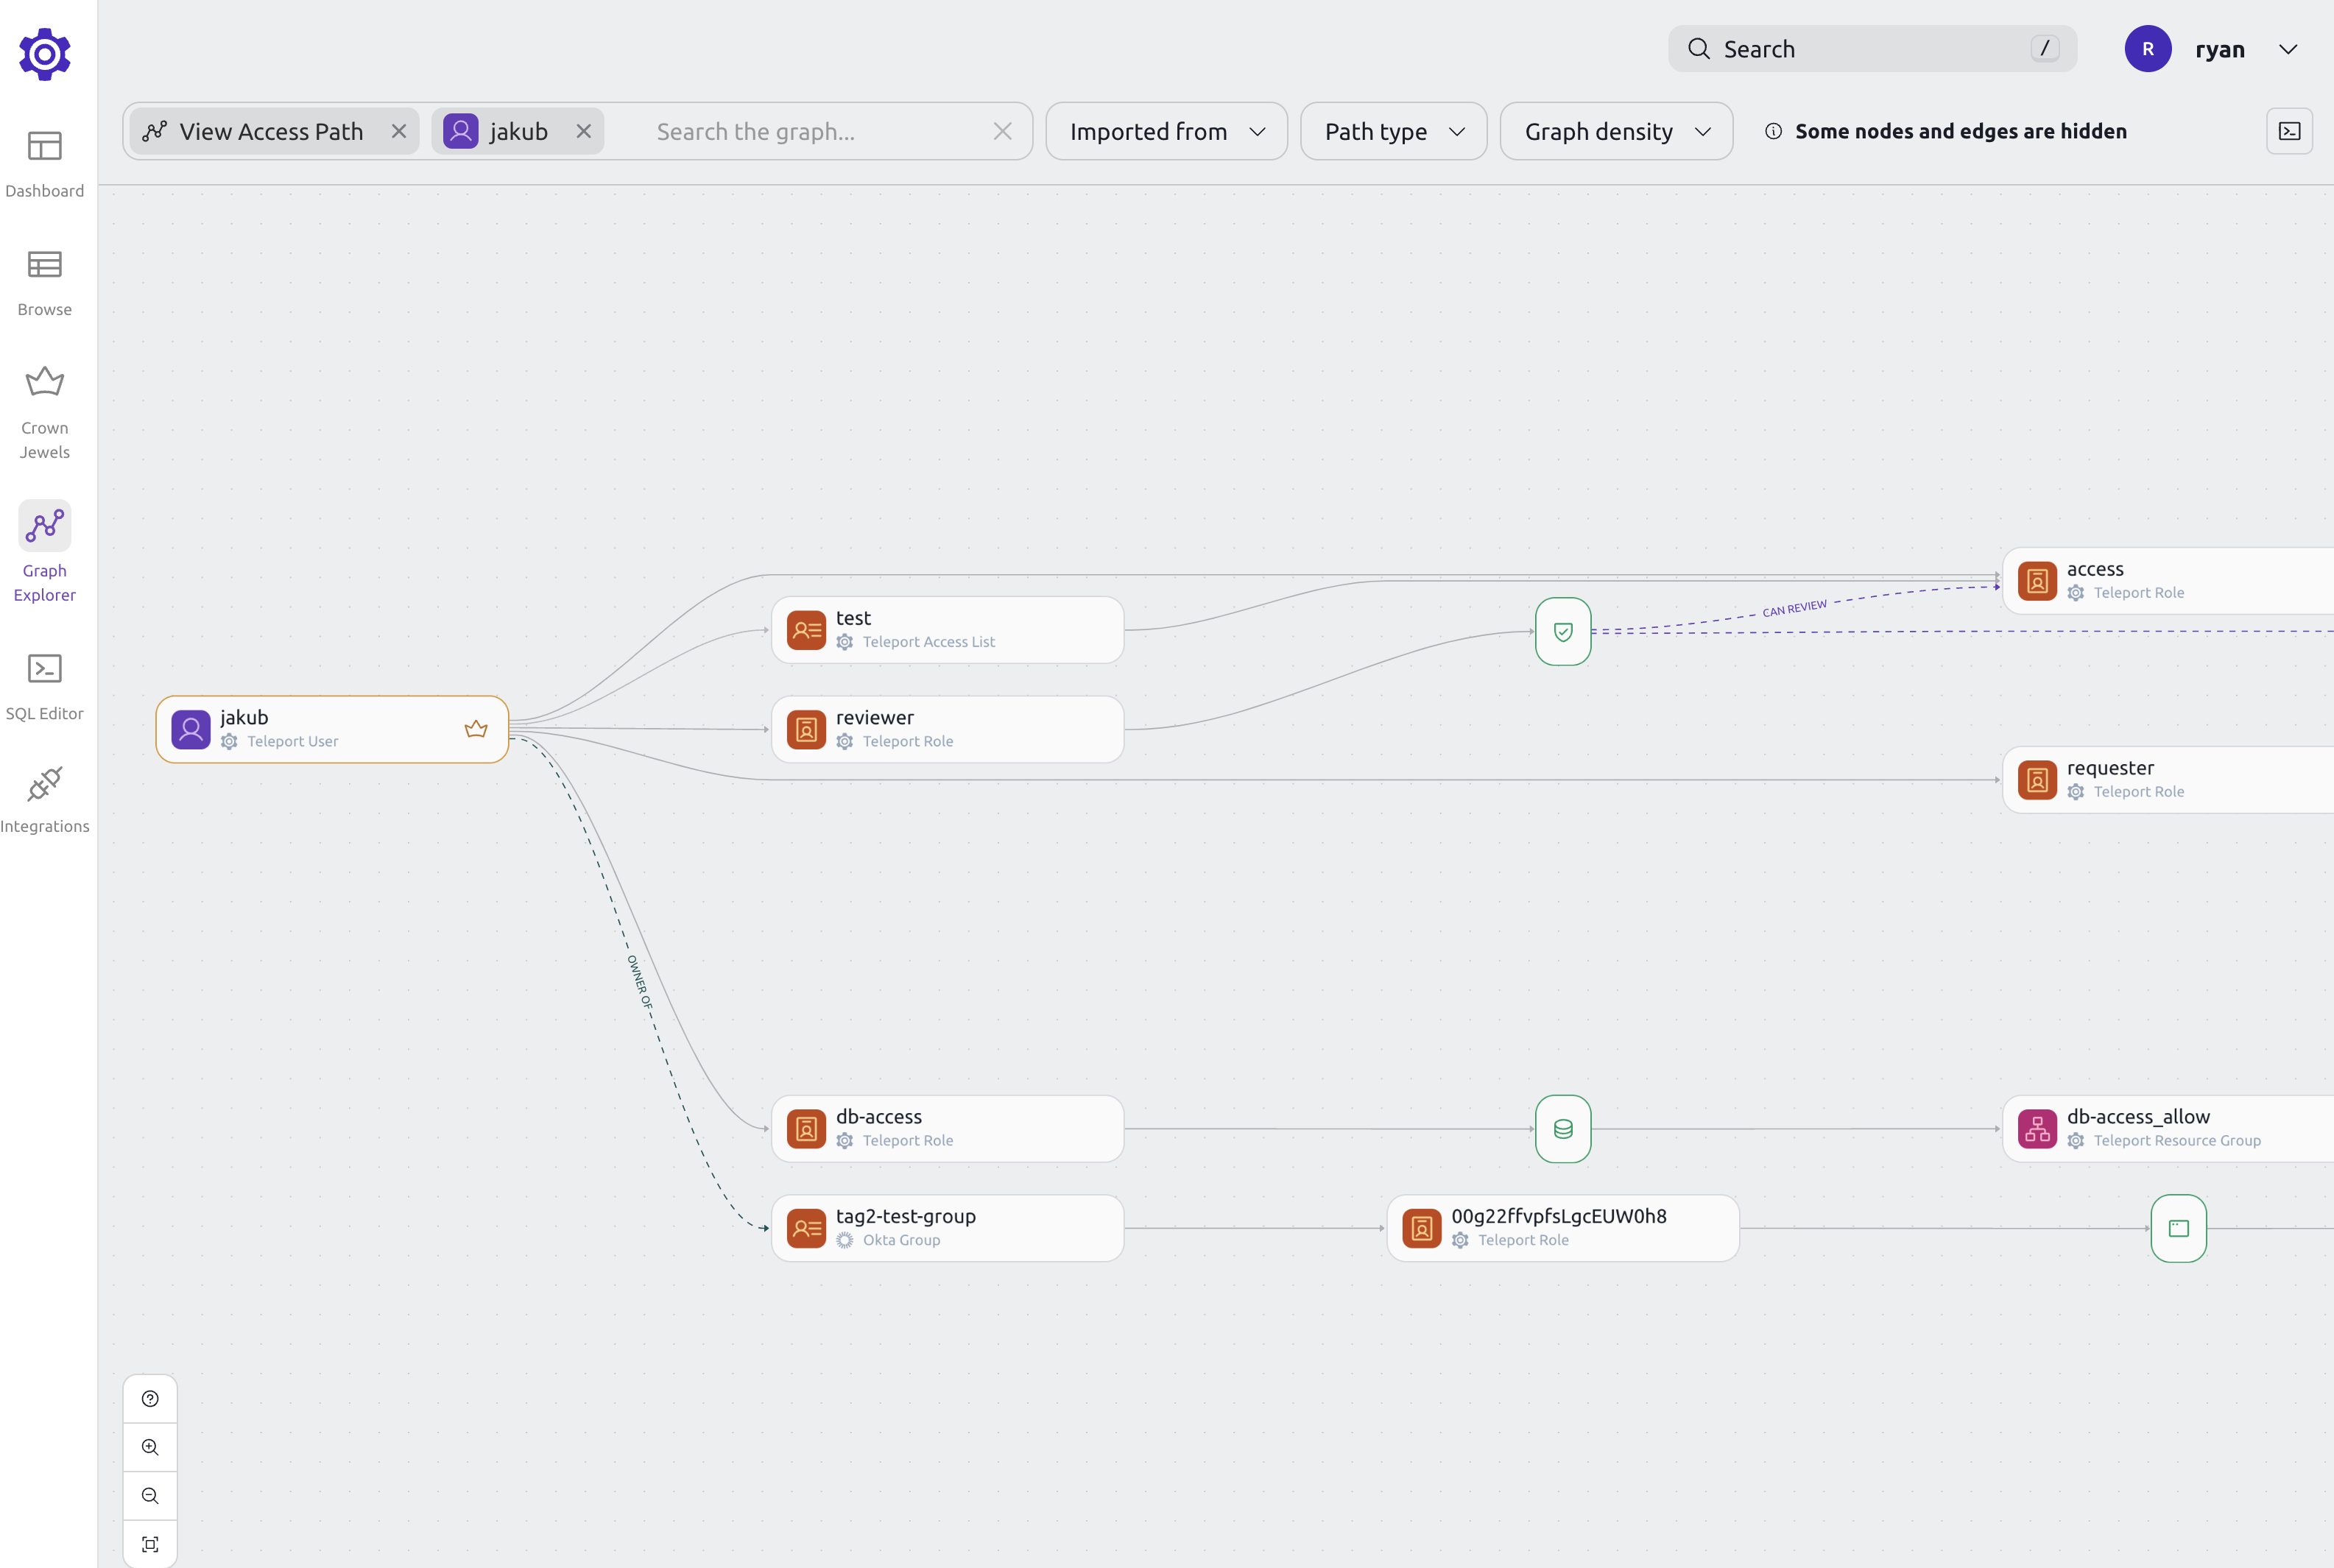
Access path view
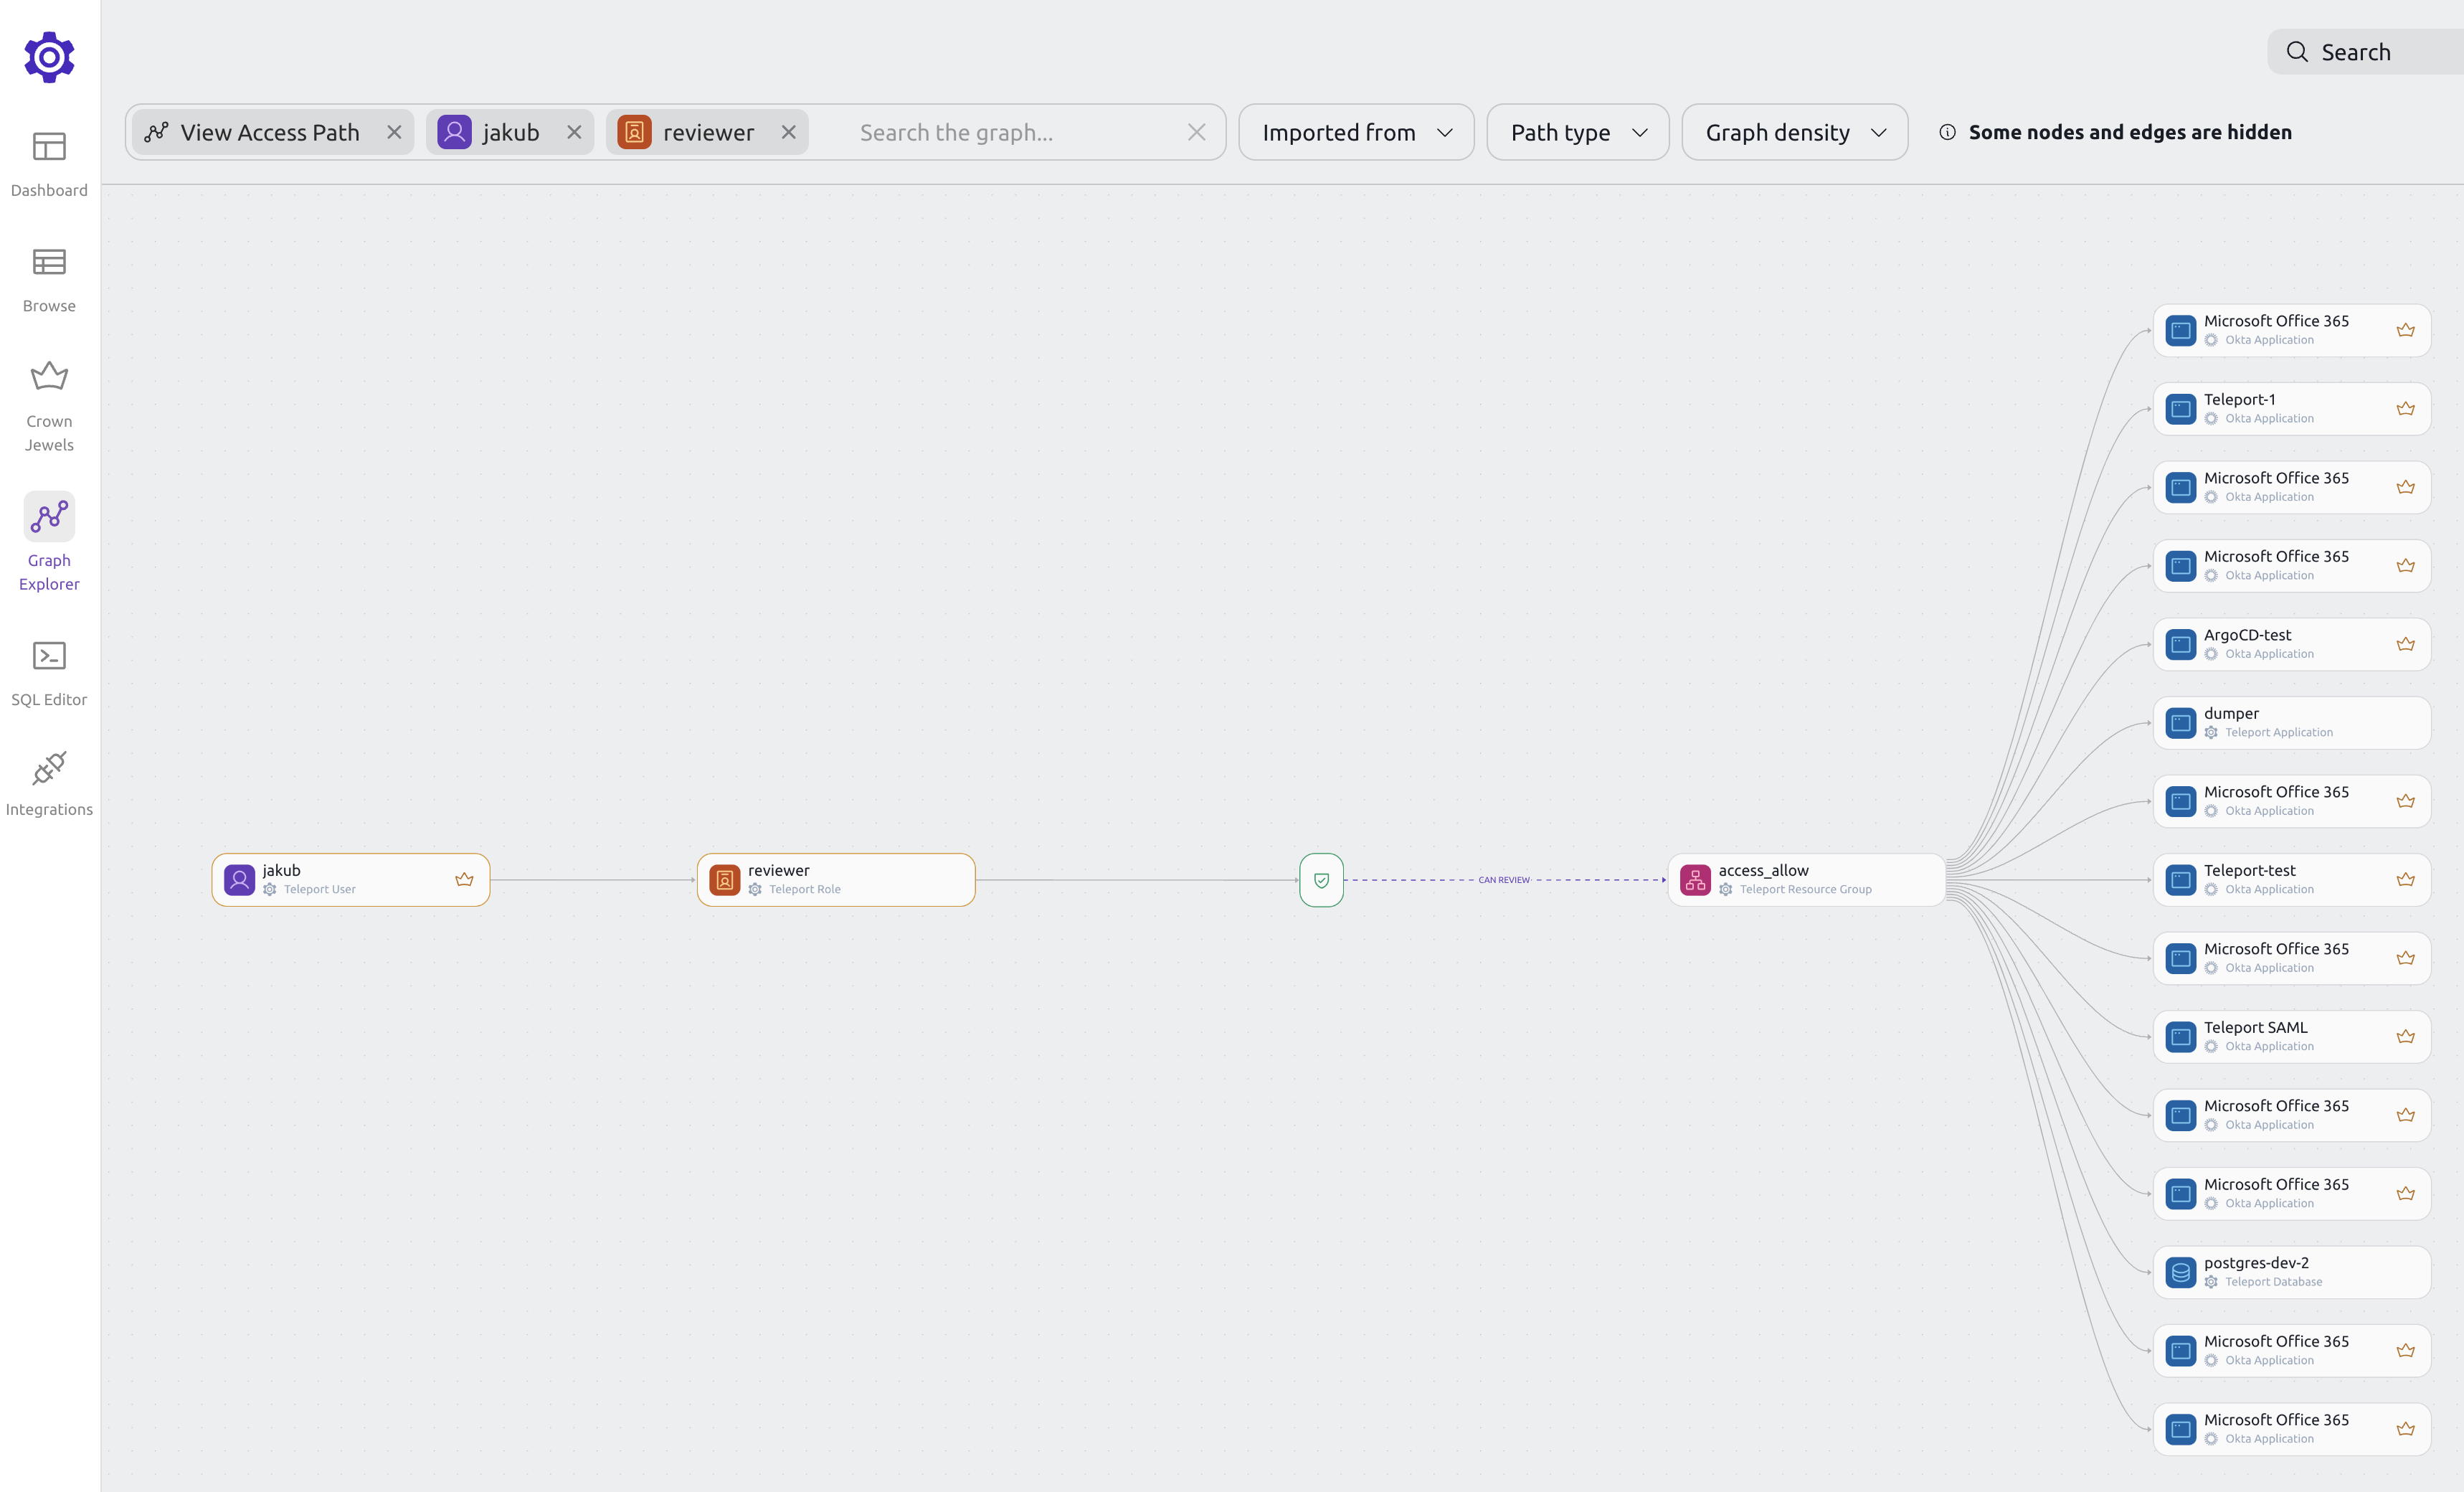
A node's access path shows all the resources that the node can access.
When viewing an access path, you can filter down the graph to show only the nodes that you are interested in.
For example, if you are viewing a user's access path and want to see what access is given to that user through a certain role, you can right-click the role and select "Add to search".
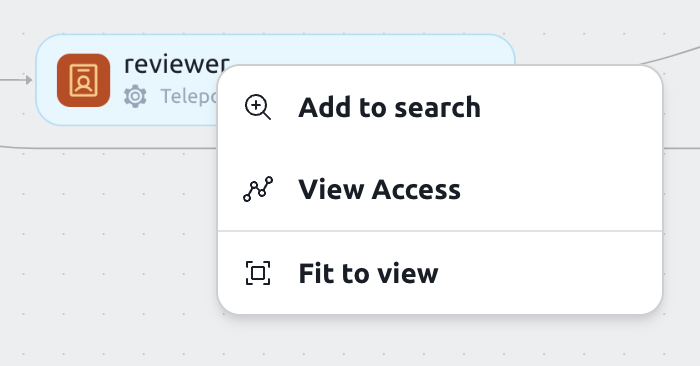
This will narrow down the graph to show you only the access paths that include that role.
Graph nodes
Teleport Access Graph divides your infrastructure into six main components:
- Identities

Identities are the actors that can access your infrastructure. They can be employees, contractors, machines or bots.
The number on the right hand side shows standing privileges. The standing privileges metric indicates the number of resources that an identity can access without creating an Access Request.
- User Groups

Identity Groups are collections of identities. They can be used to organize users based on their role or team, and they can be nested.
- Actions
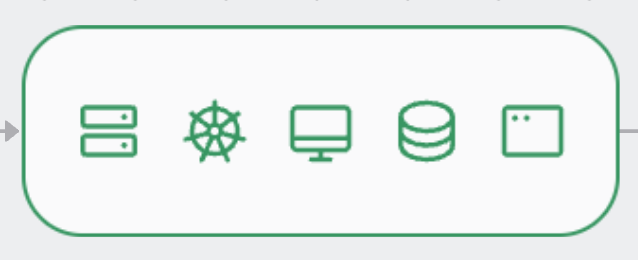
Actions are the things that identities can or cannot do. Actions are related to resources. For example, a user can SSH into a node.
- Deny Actions
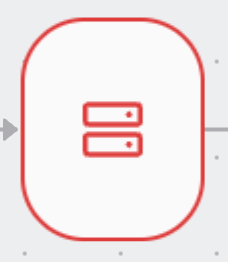
Deny Actions are the things that identities cannot do. Deny Actions are related to resources. For example, a user cannot SSH into a node.
- Resource Groups

Resource Groups are collections of resources. They can be used to organize resources based on their role or team.
The number on the right hand side shows the number of resources that a resource group contains.
- Resources

Resources are the things that users can or cannot access. They can be servers, databases, or Kubernetes clusters.
SQL Editor
Access Graph allows creating SQL like queries to explore the graph.
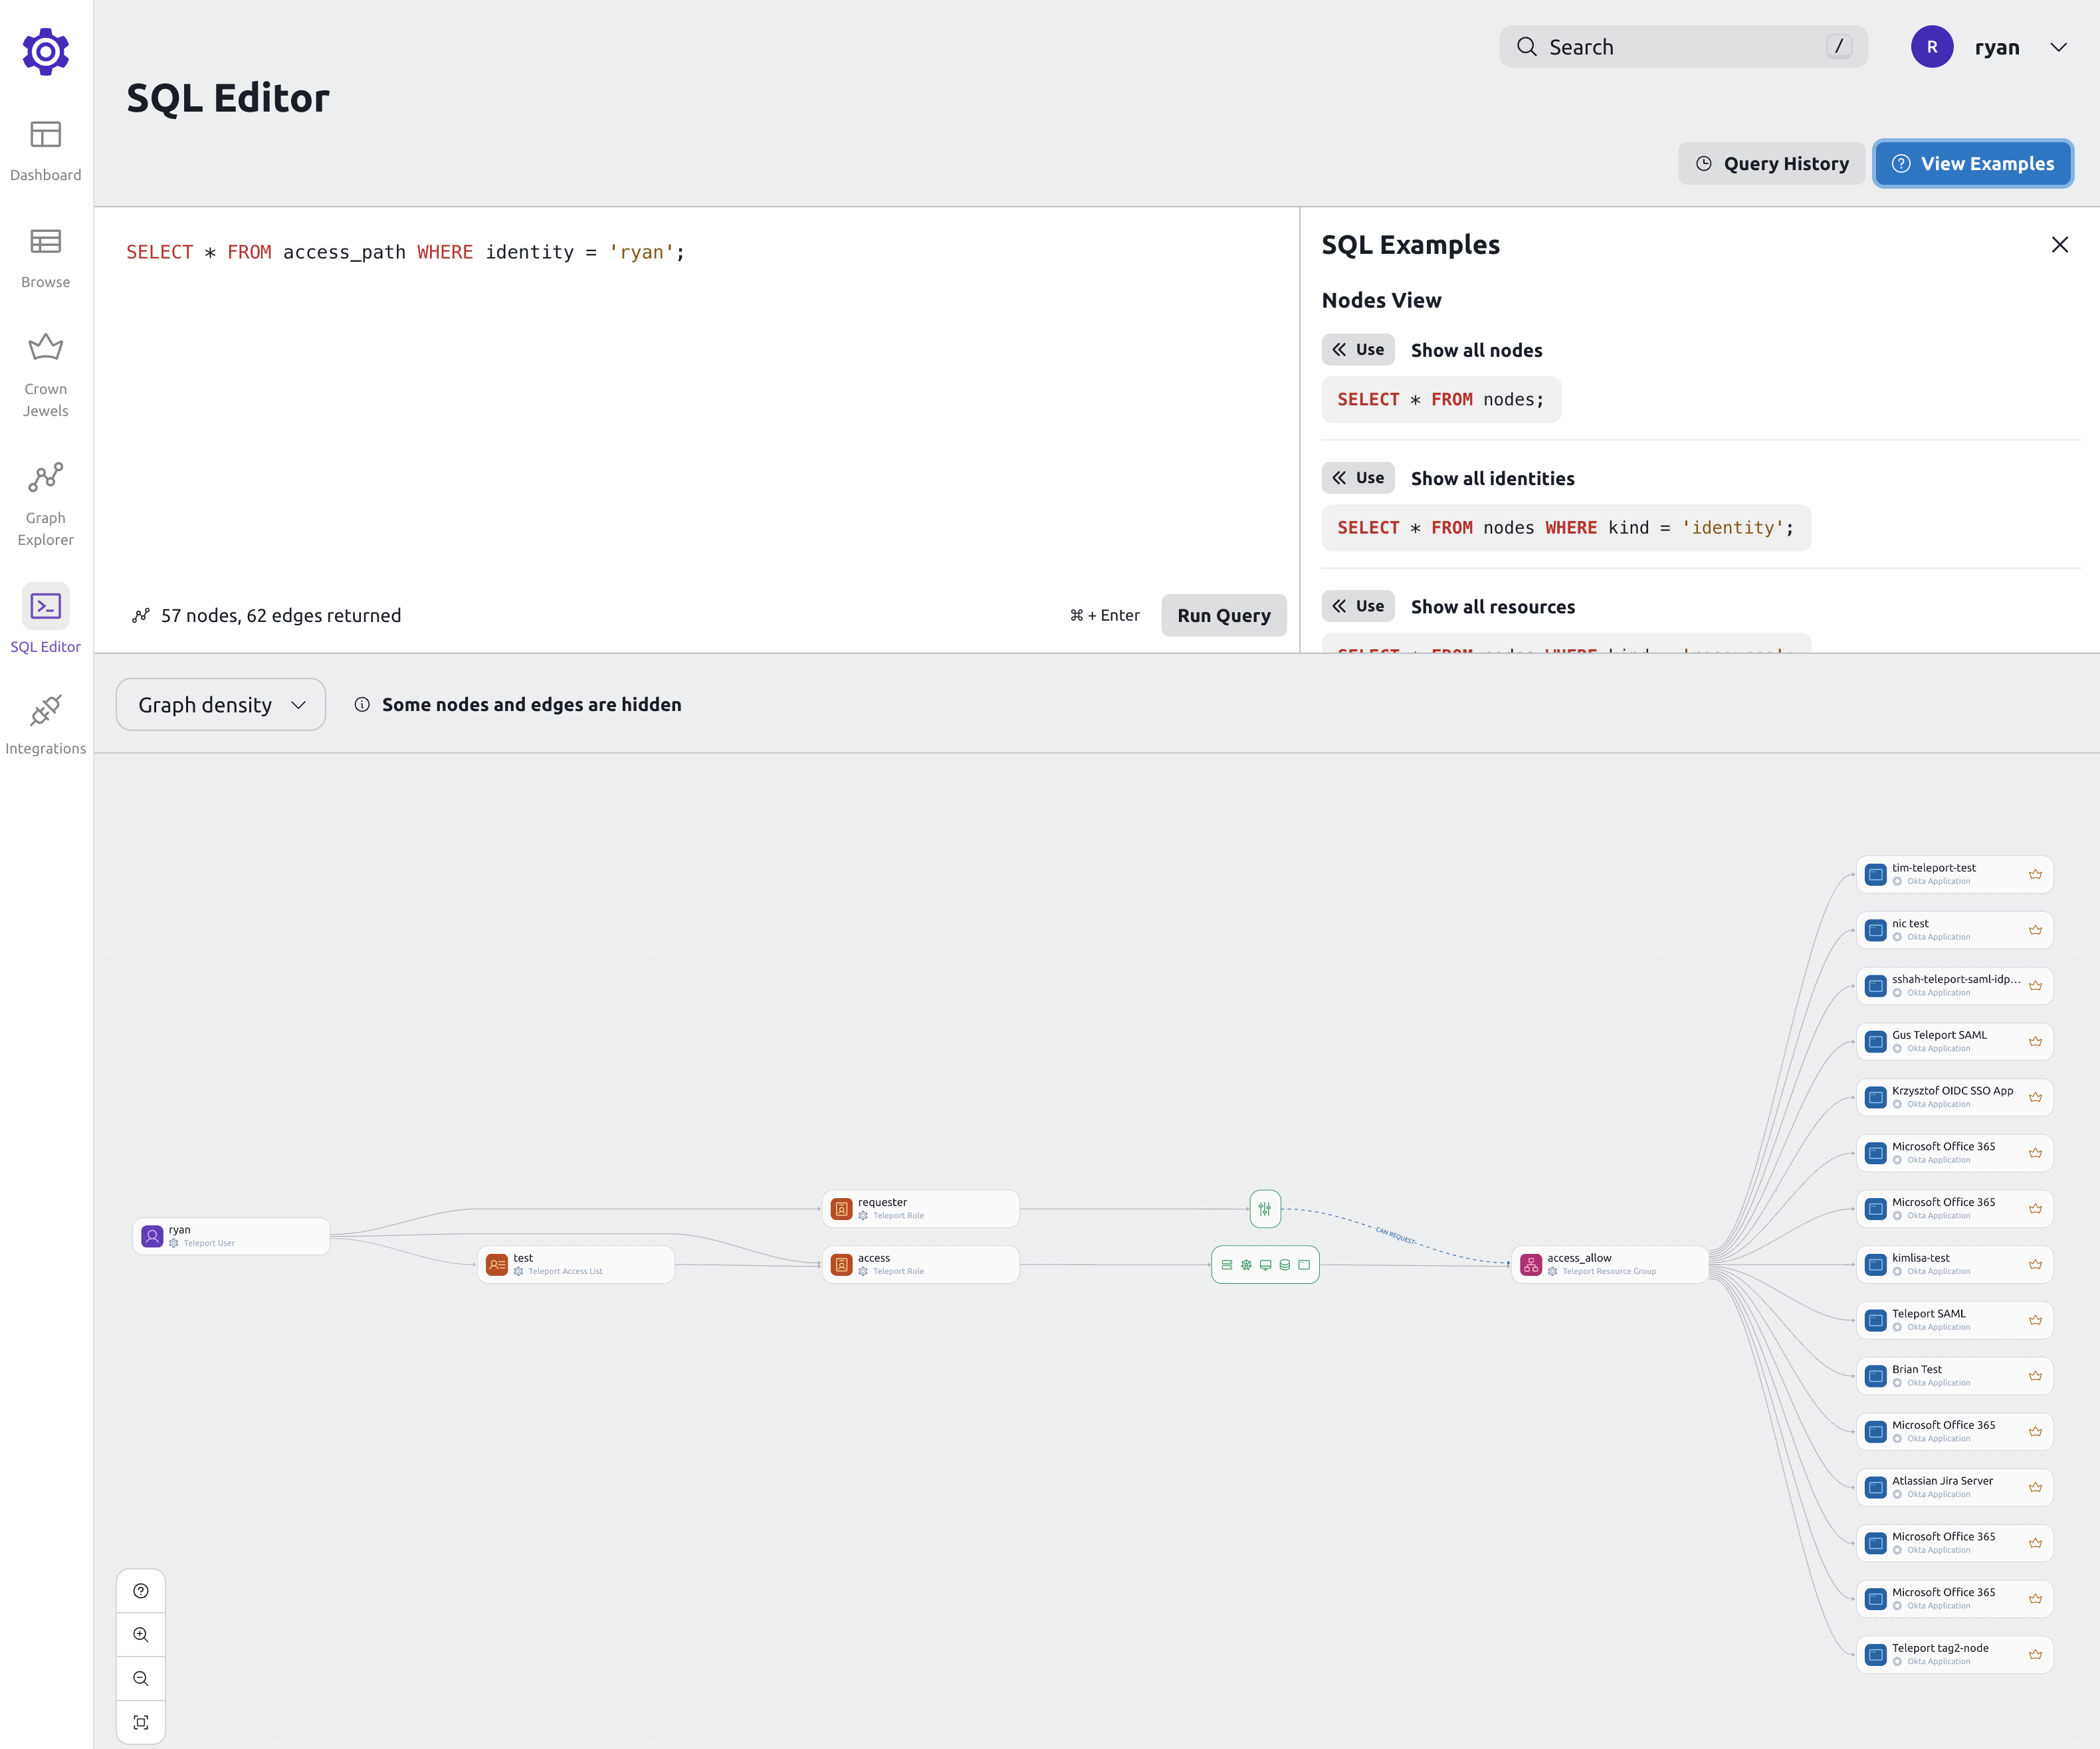
The query language allows to create different views of the graph, ex:
Show only allowed paths:
SELECT * FROM access_path WHERE kind = 'ALLOWED';
Show only denied paths:
SELECT * FROM access_path WHERE kind = 'DENIED';
Show all access paths for a user:
SELECT * FROM access_path WHERE identity = 'bob';
Show all access paths for a user AND a resource:
SELECT * FROM access_path WHERE identity = 'bob' AND resource = 'postgres';
Show all access paths for resources with specific labels:
SELECT * FROM access_path WHERE resource_labels @> '{"key": "value"}';
You can view more SQL examples in the editor.